My Photo Creations - Customizing Your Book
Creating Your Cover
4. Adding Spine Text and Images
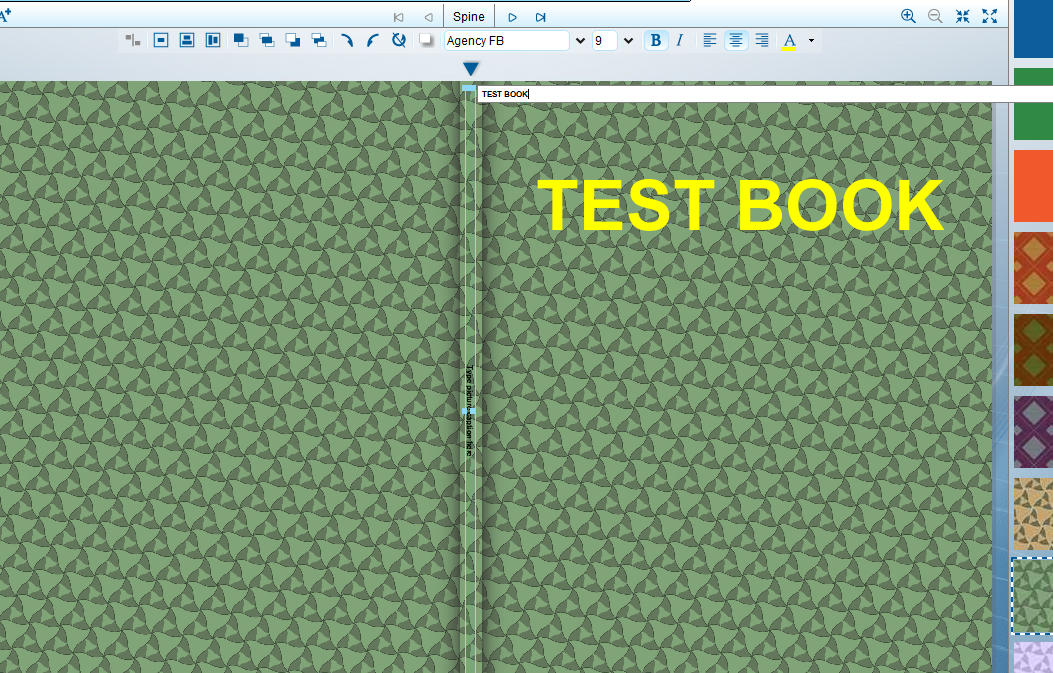
1. Cover View - Viewing the cover in the Page Layout is the same as viewing the content, except that from here you can also edit your spine.
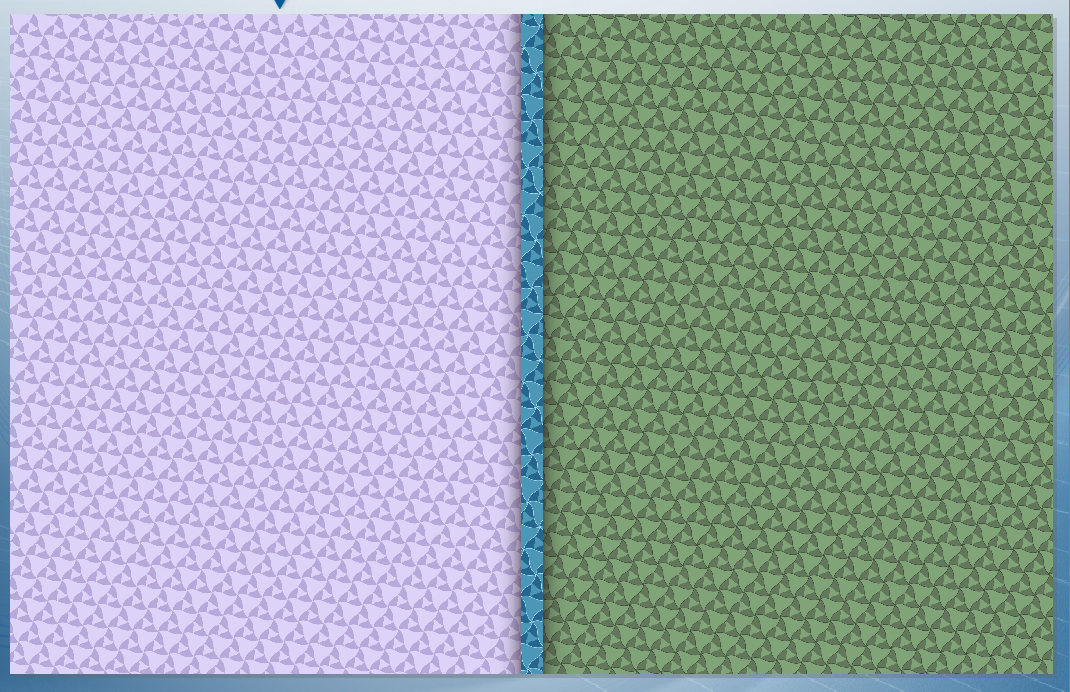
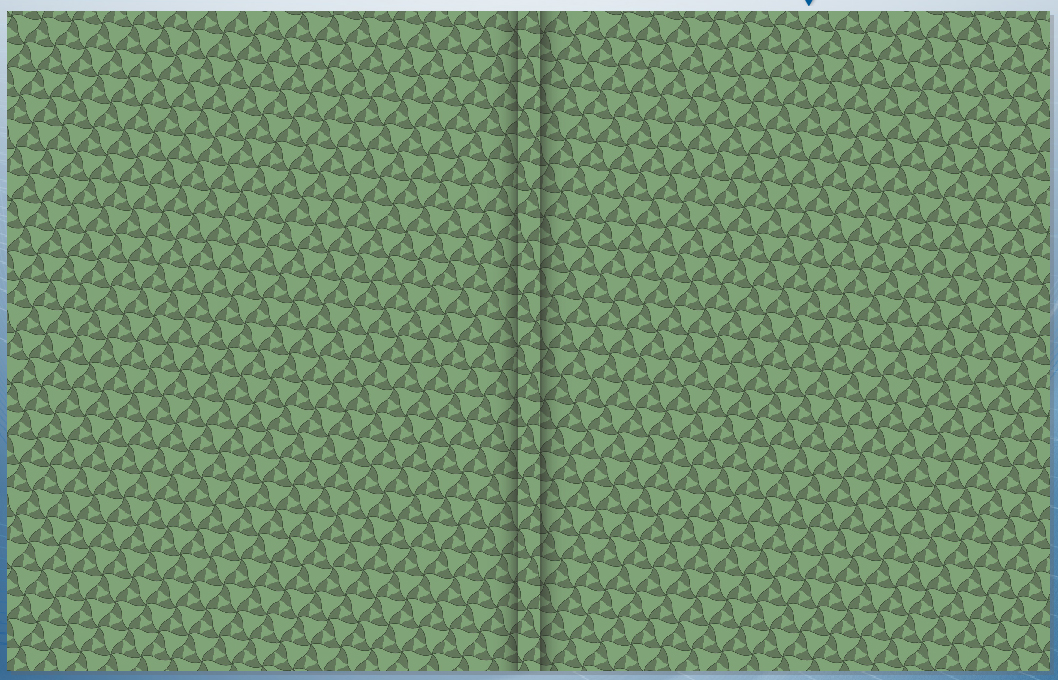
2. Adding a Background - Adding a background to your cover is the same as adding a background to your content, you can apply it as a Single or Two Page Spread. If you choose a Single Page Spread then you can apply a different background to the front, back, and spine of the cover. If you choose a Two Page Spread the background will be spread across all three parts. This is not restricted to our backgrounds, you can use any image you like as the background, just keep in mind that the edge of the photo will be cut off.
Single Page Spread on each part of the cover |
|
Two Page Spread Across the Whole cover |
|
3. Adding Images and Text - Just like adding a background to your cover, adding images and text is the same as adding it to your content.
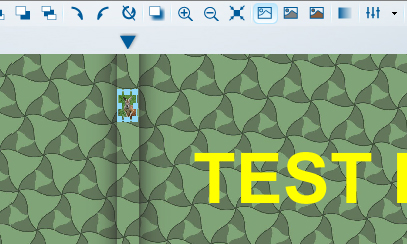
4. Adding Spine Text and Images - Adding Text and Images to the spine is the same as adding it to the other parts of the cover, although there are some restrictions.


Once the text box is created double click it to edit your spine text. With the text box selected you can also change your font type and color just like any other text box, however your text size will be restricted by your spine width.
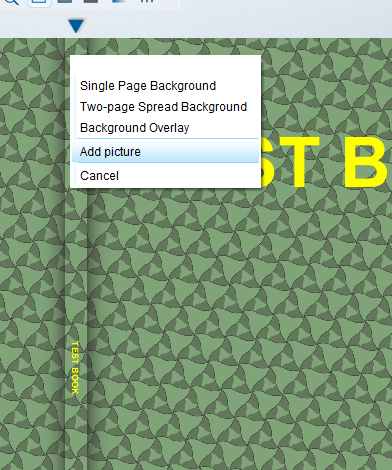
Select add picture, it will automatically be resized to fit within your spine and it will be centered.
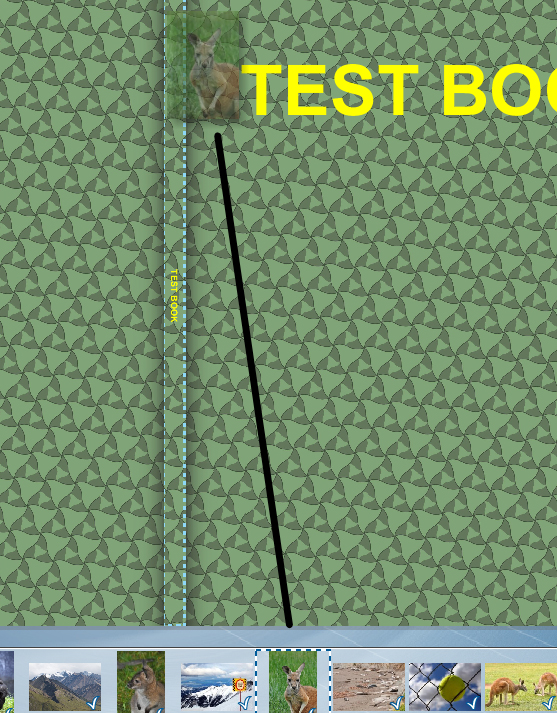
To move the image, select it and use the arrow keys to move the image to the desired location.