Description: |
|
|
Select Objects - Allow the selection of images and text boxes so they can be adjusted. |
|
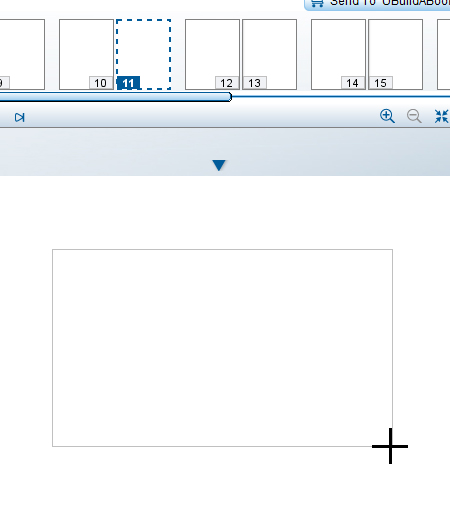
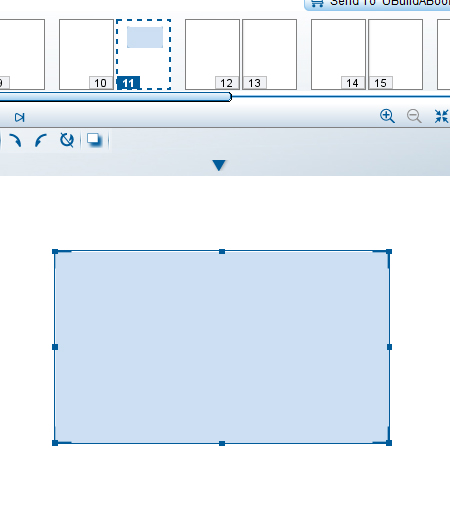
Add Picture Frame - Allows the creating of an empty picture frame that you can later add an image to. |
|
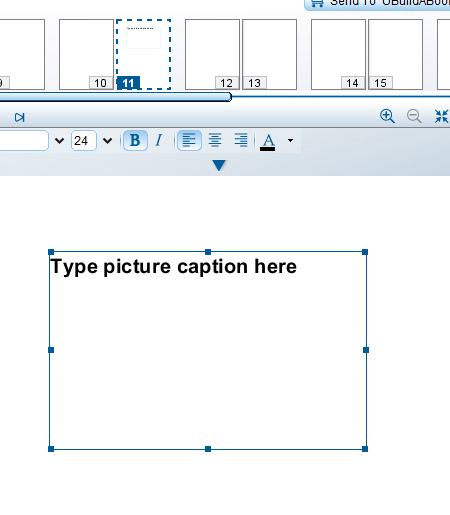
Add/Edit Caption - Allows the creating/editing of a text box. |
|
Go to Front Cover - Allows you to go to the front cover quickly. |
|
Go to Previous Page - Allows you to go to the previous page quickly. |
|
Current Page - Displays the page number of the page you're currently editing. |
|
Go to Next Page - Allows you to go to the next page quickly. |
|
Go to Back Cover - Allows you to go to the back cover quickly. |
|
Zoom In - Allows you to zoom in on the current page. |
|
Zoom Out - Allows you to zoom out on the current page. |
|
Fit Page - Fits the page to your window so you can see the entire page. |
|
Actual Size - Zooms in to the actual size of your book. |