My Photo Creations - Customizing Your Book
*Some of the information below is out of date, please refer to the New Features section to see the changes.
3. Image Viewer - Displays the images you've chosen for adding to your project
Description: |
|
|
Adds a single image to the Image Viewer. |
|
Adds a folder with multiple images to the Image Viewer. (recommended) |
|
Toggles wether the images you've used are visible in the Image Viewer. |
|
Clears all images in the Image Viewer. (Does not remove image from your project, just the viewer.) |
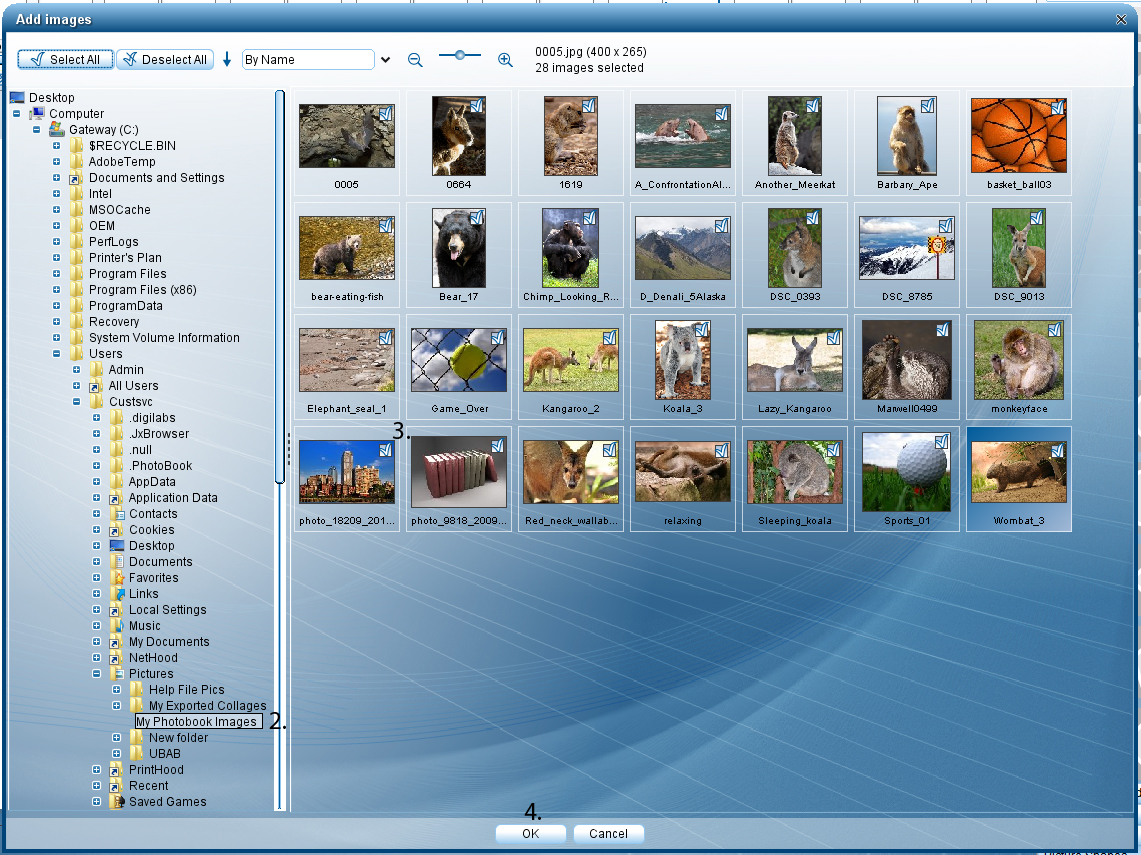
1. Click on the Add Image Button
2. Select the folder containing the images you want to add to the Image Viewer
3. Click on the check box for each image you want to add, if you want to add all the images in the folder click
4. Click  to add the selected images.
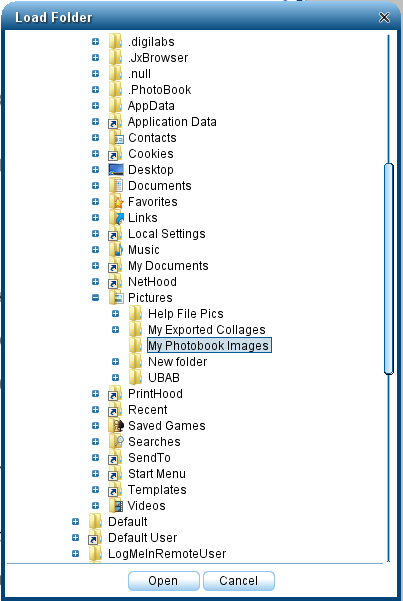
1. Click the Add Folder with Images button
2. Select the folder with your images in it and click
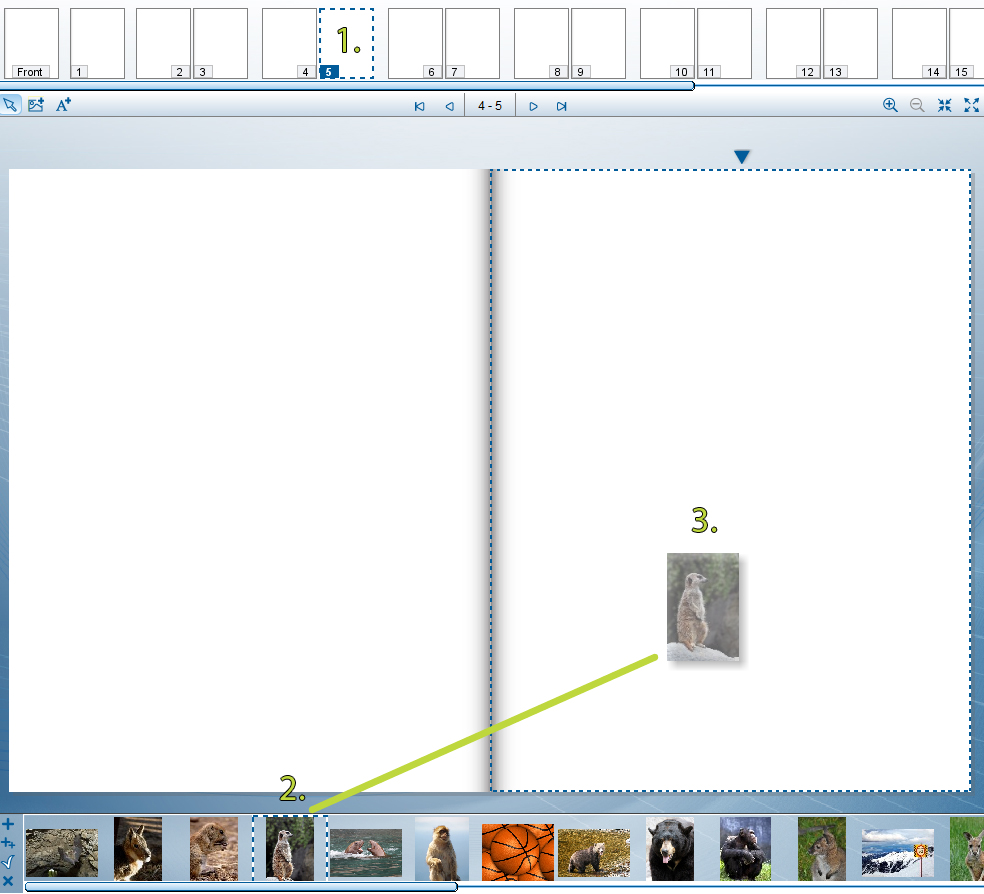
1. Select the page you want to add the image to.
2. Select the image you want to add.
3. Hold down the left mouse button and drag the image to where you want it on the page.
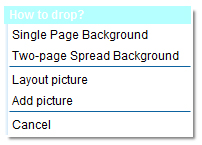
4. Choose how you want to add the image.
|
Description |
Single Page Background - Places the image as the selected page's background. |
|
Two-page Spread Background - Places the image as the background across both visible pages |
|
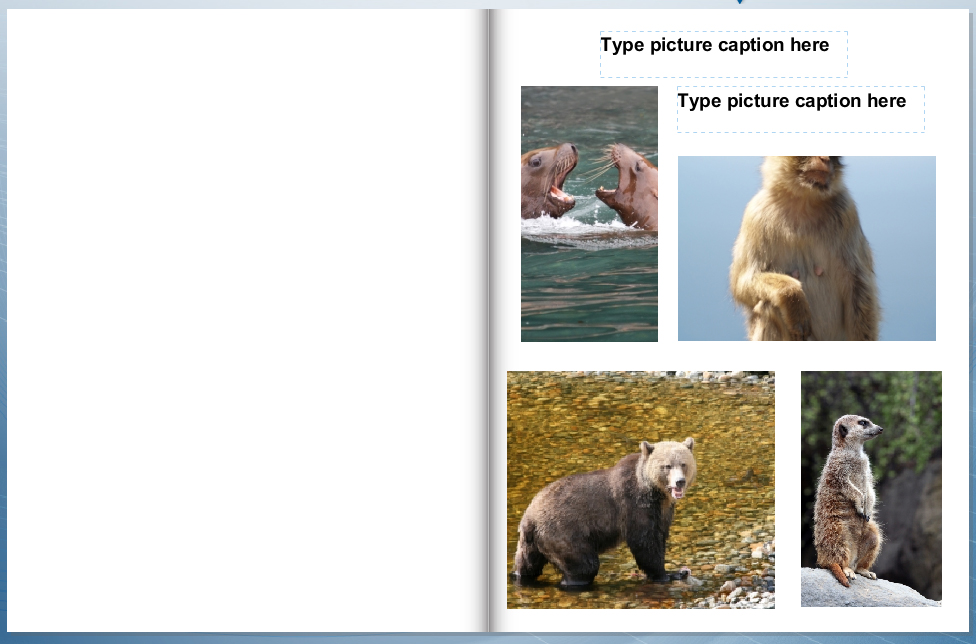
Layout picture - Automatically adds images based on the size and shape of the other images on the page. (may also add captions) |
|
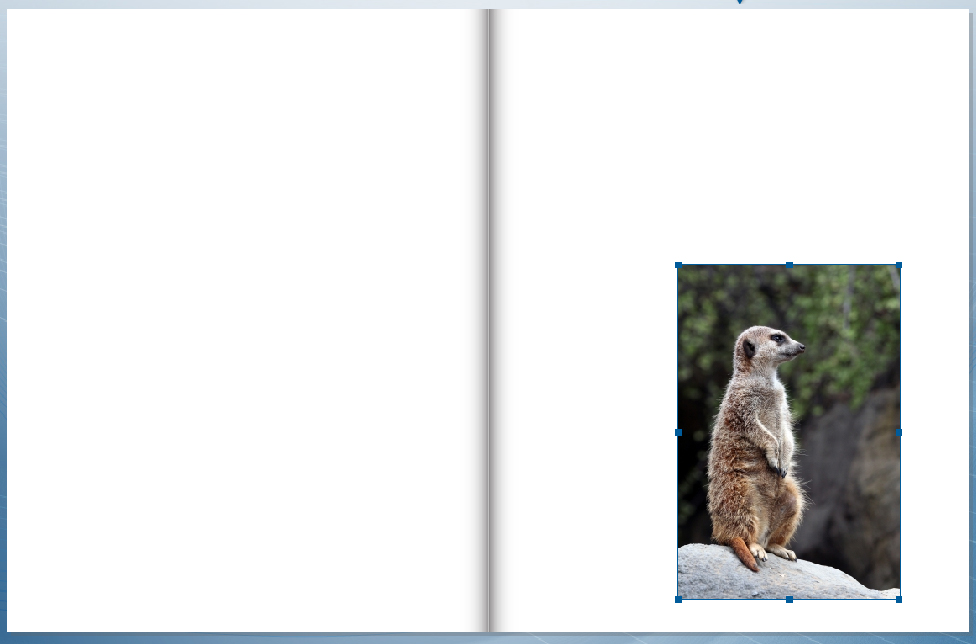
Add picture - Adds image exactly where you place it on the page. |
Examples |
|||
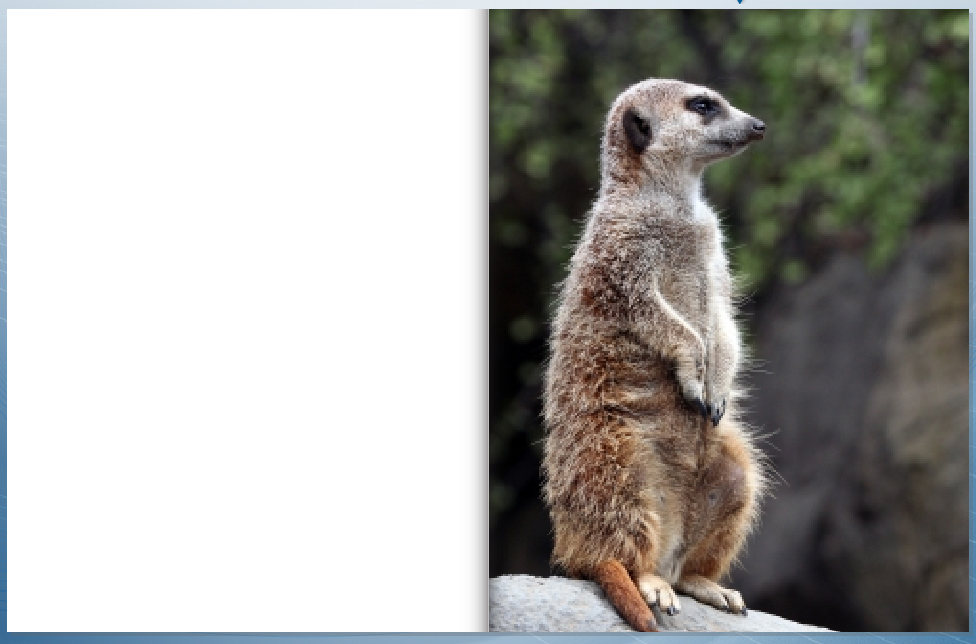
Single Page Background |
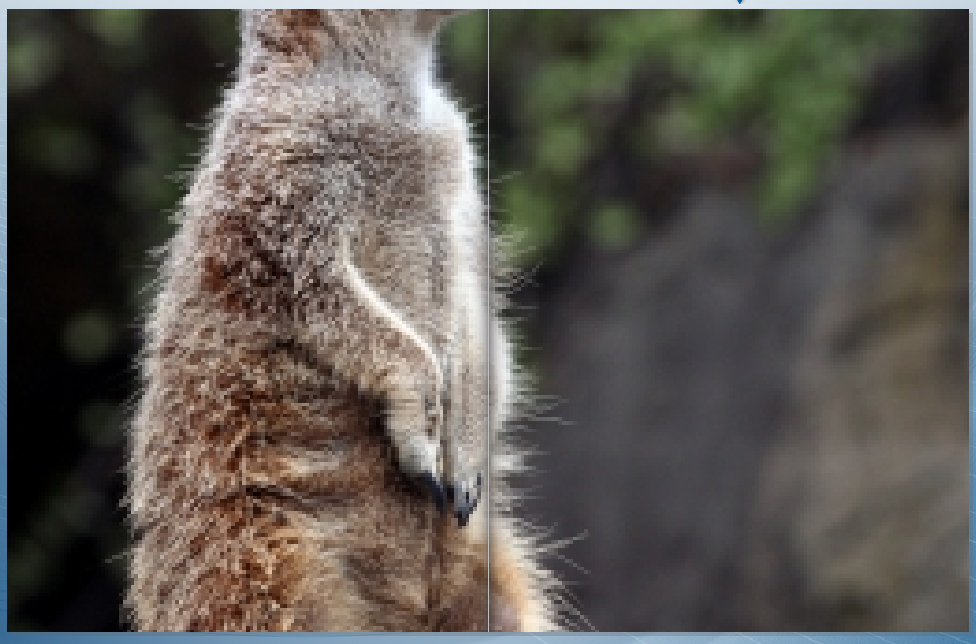
Two-page Spread Background |
Layout picture |
Add picture |
|
|
|
|
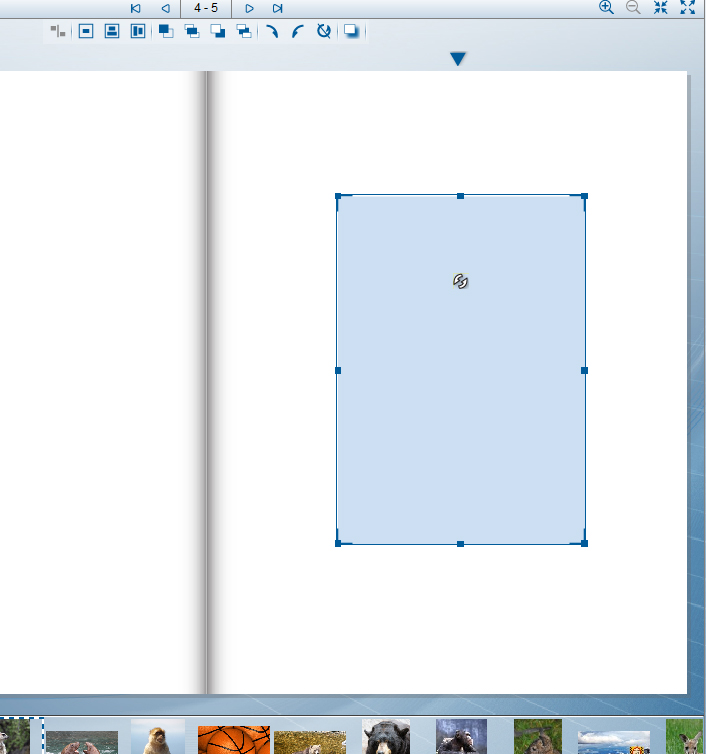
1. Place an empty Picture Frame on the page and adjust it as needed.
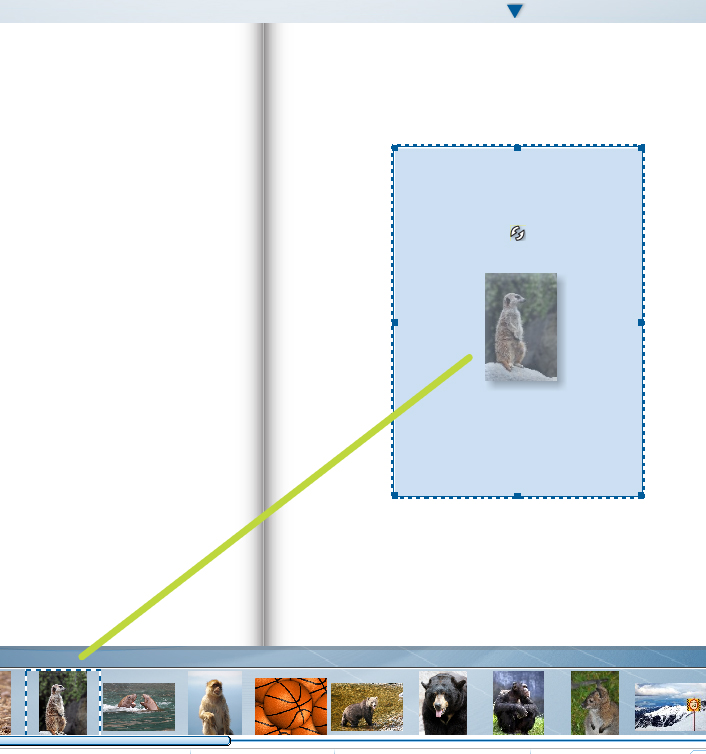
2. Drag your image into the empty frame
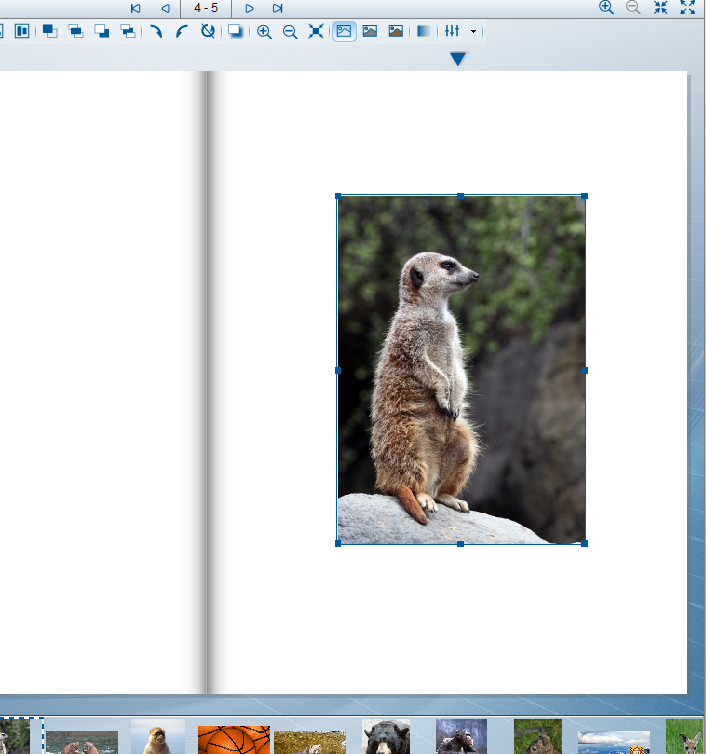
3. You can now use the Image Toolbar to adjust your image
-Back to Customizing Your Book-