My Photo Creations - Creating A Book
Creating A New Book
5. Picking which images to use
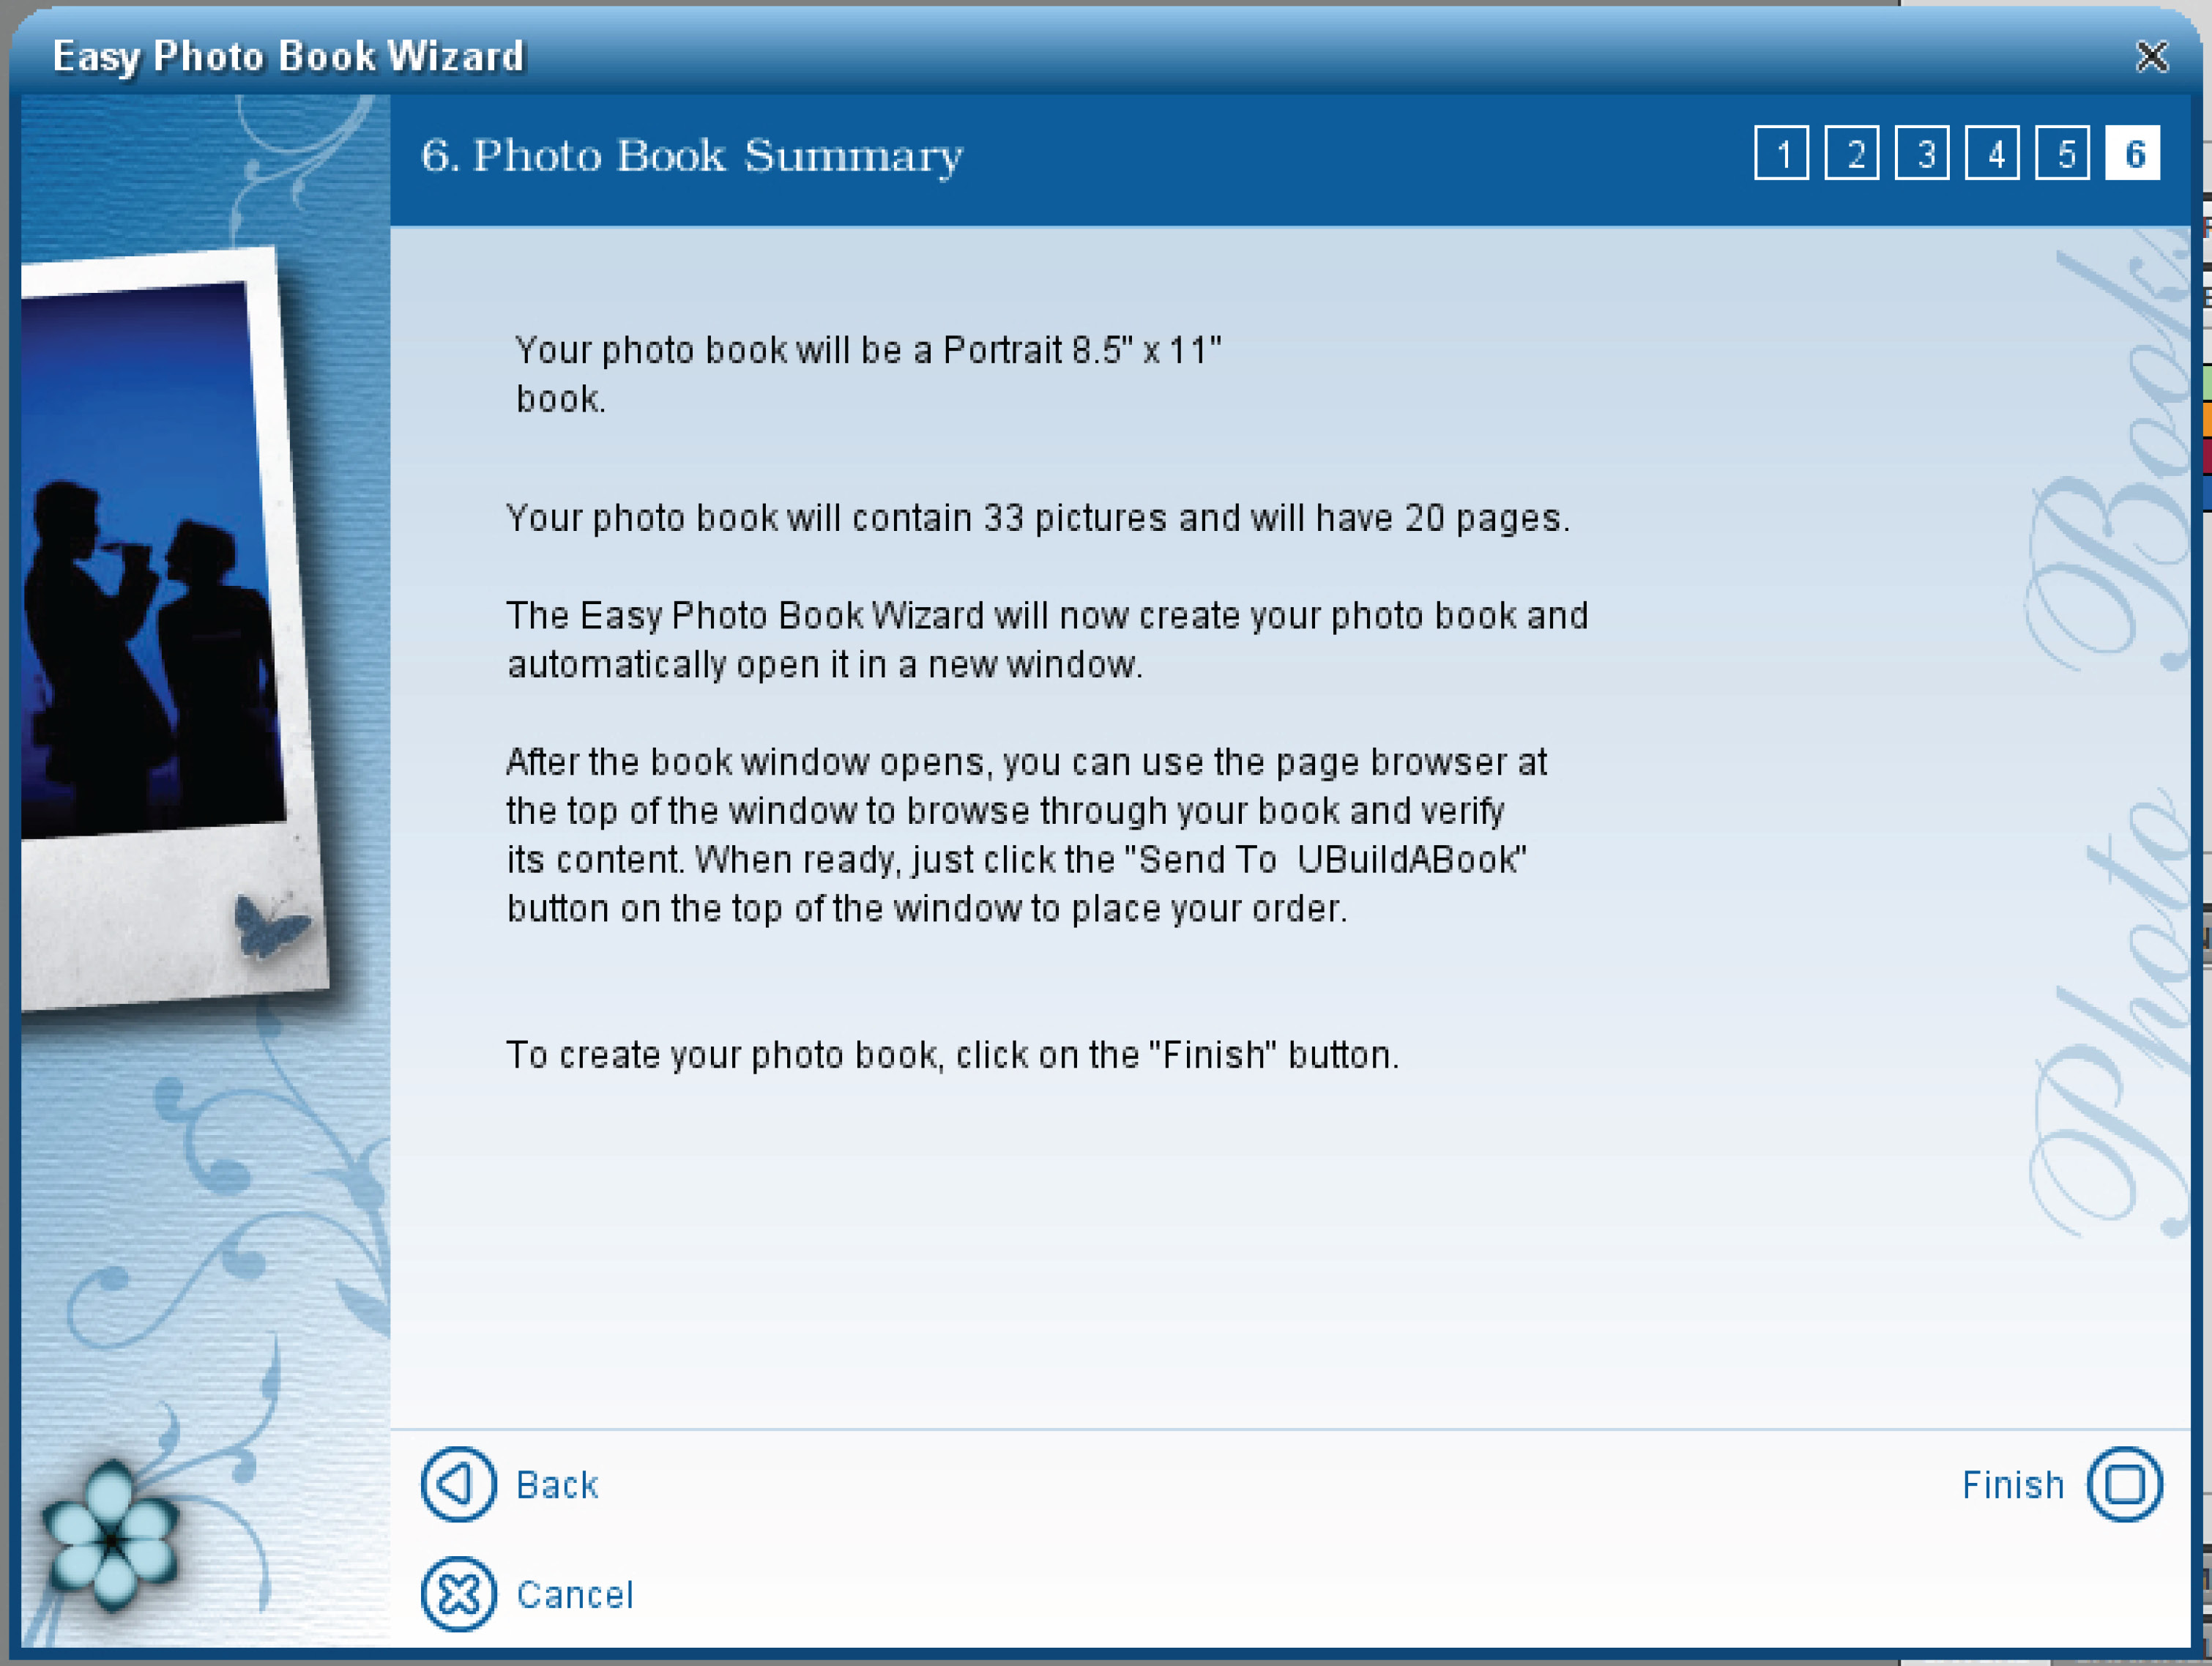
9. Finishing the Photo Book Wizard
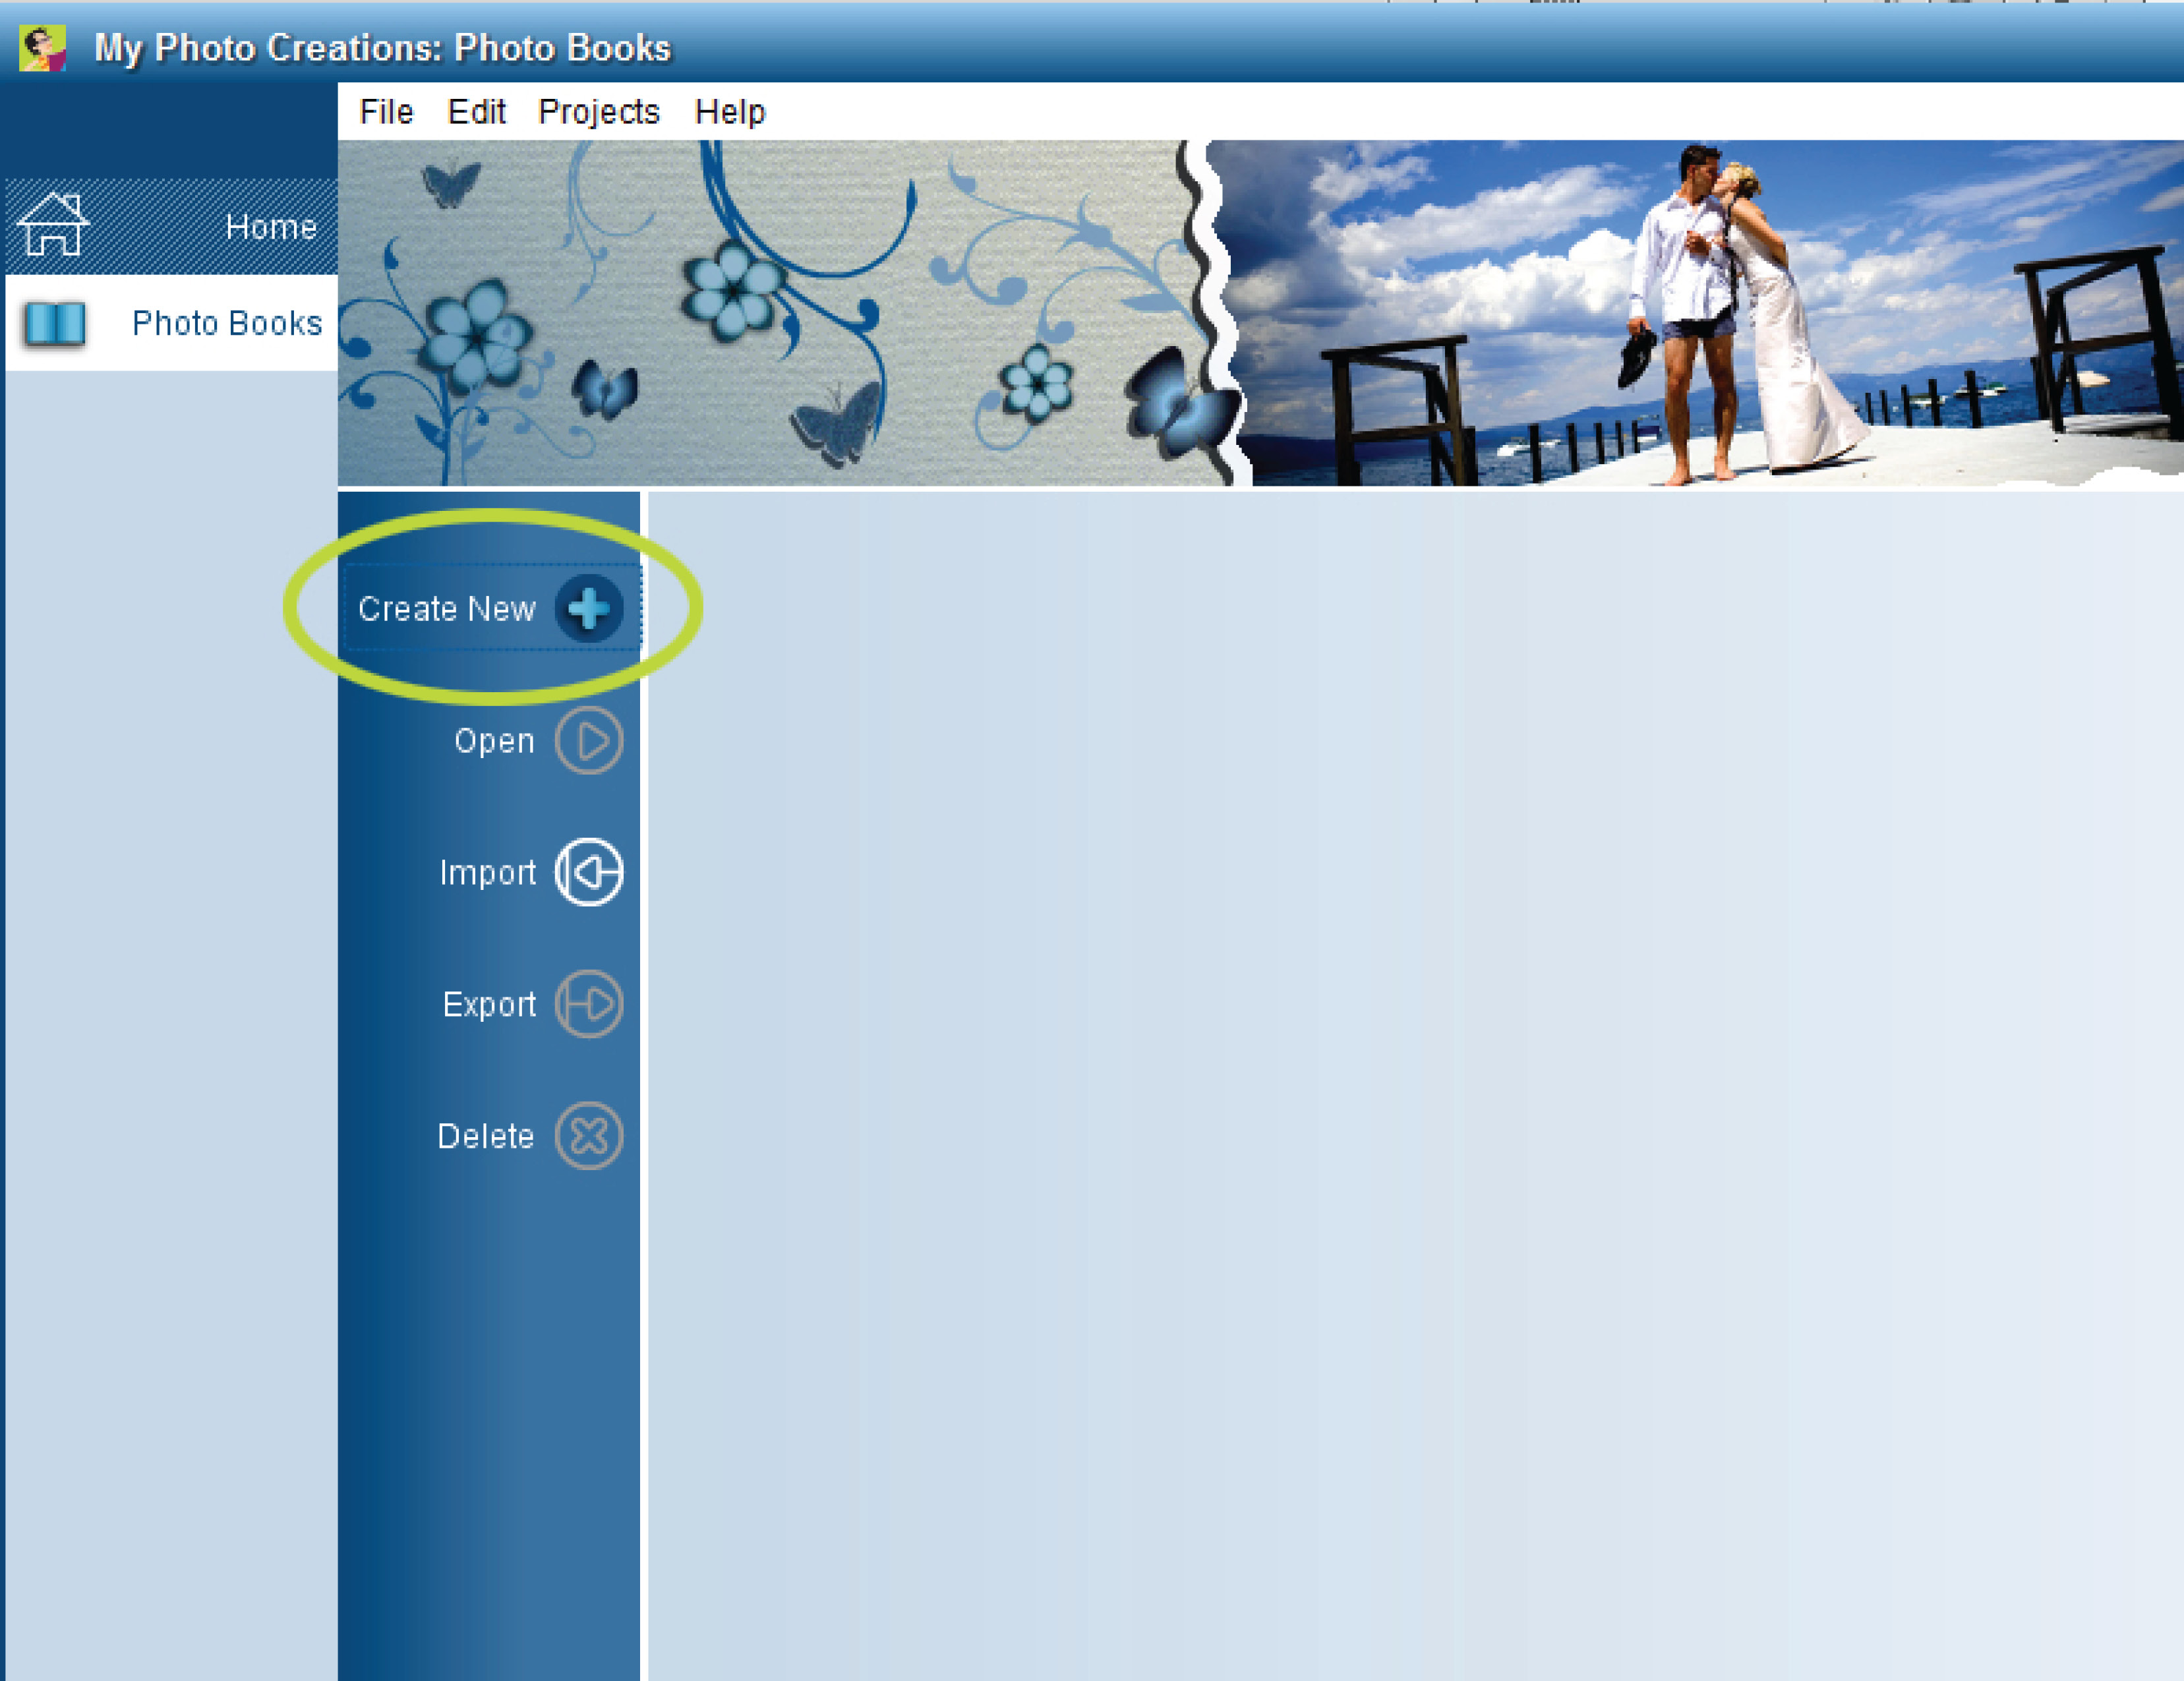
1. To create a new book start by clicking the Photo Books Tab and select Create New
2. Next select the type of book picking the Size, Orientation, and Cover Type (the Default is 8.5x11 Portrait Hard Cover).
Then select if you want to use the Wizard(Beginners) or an Empty Book(Advanced).
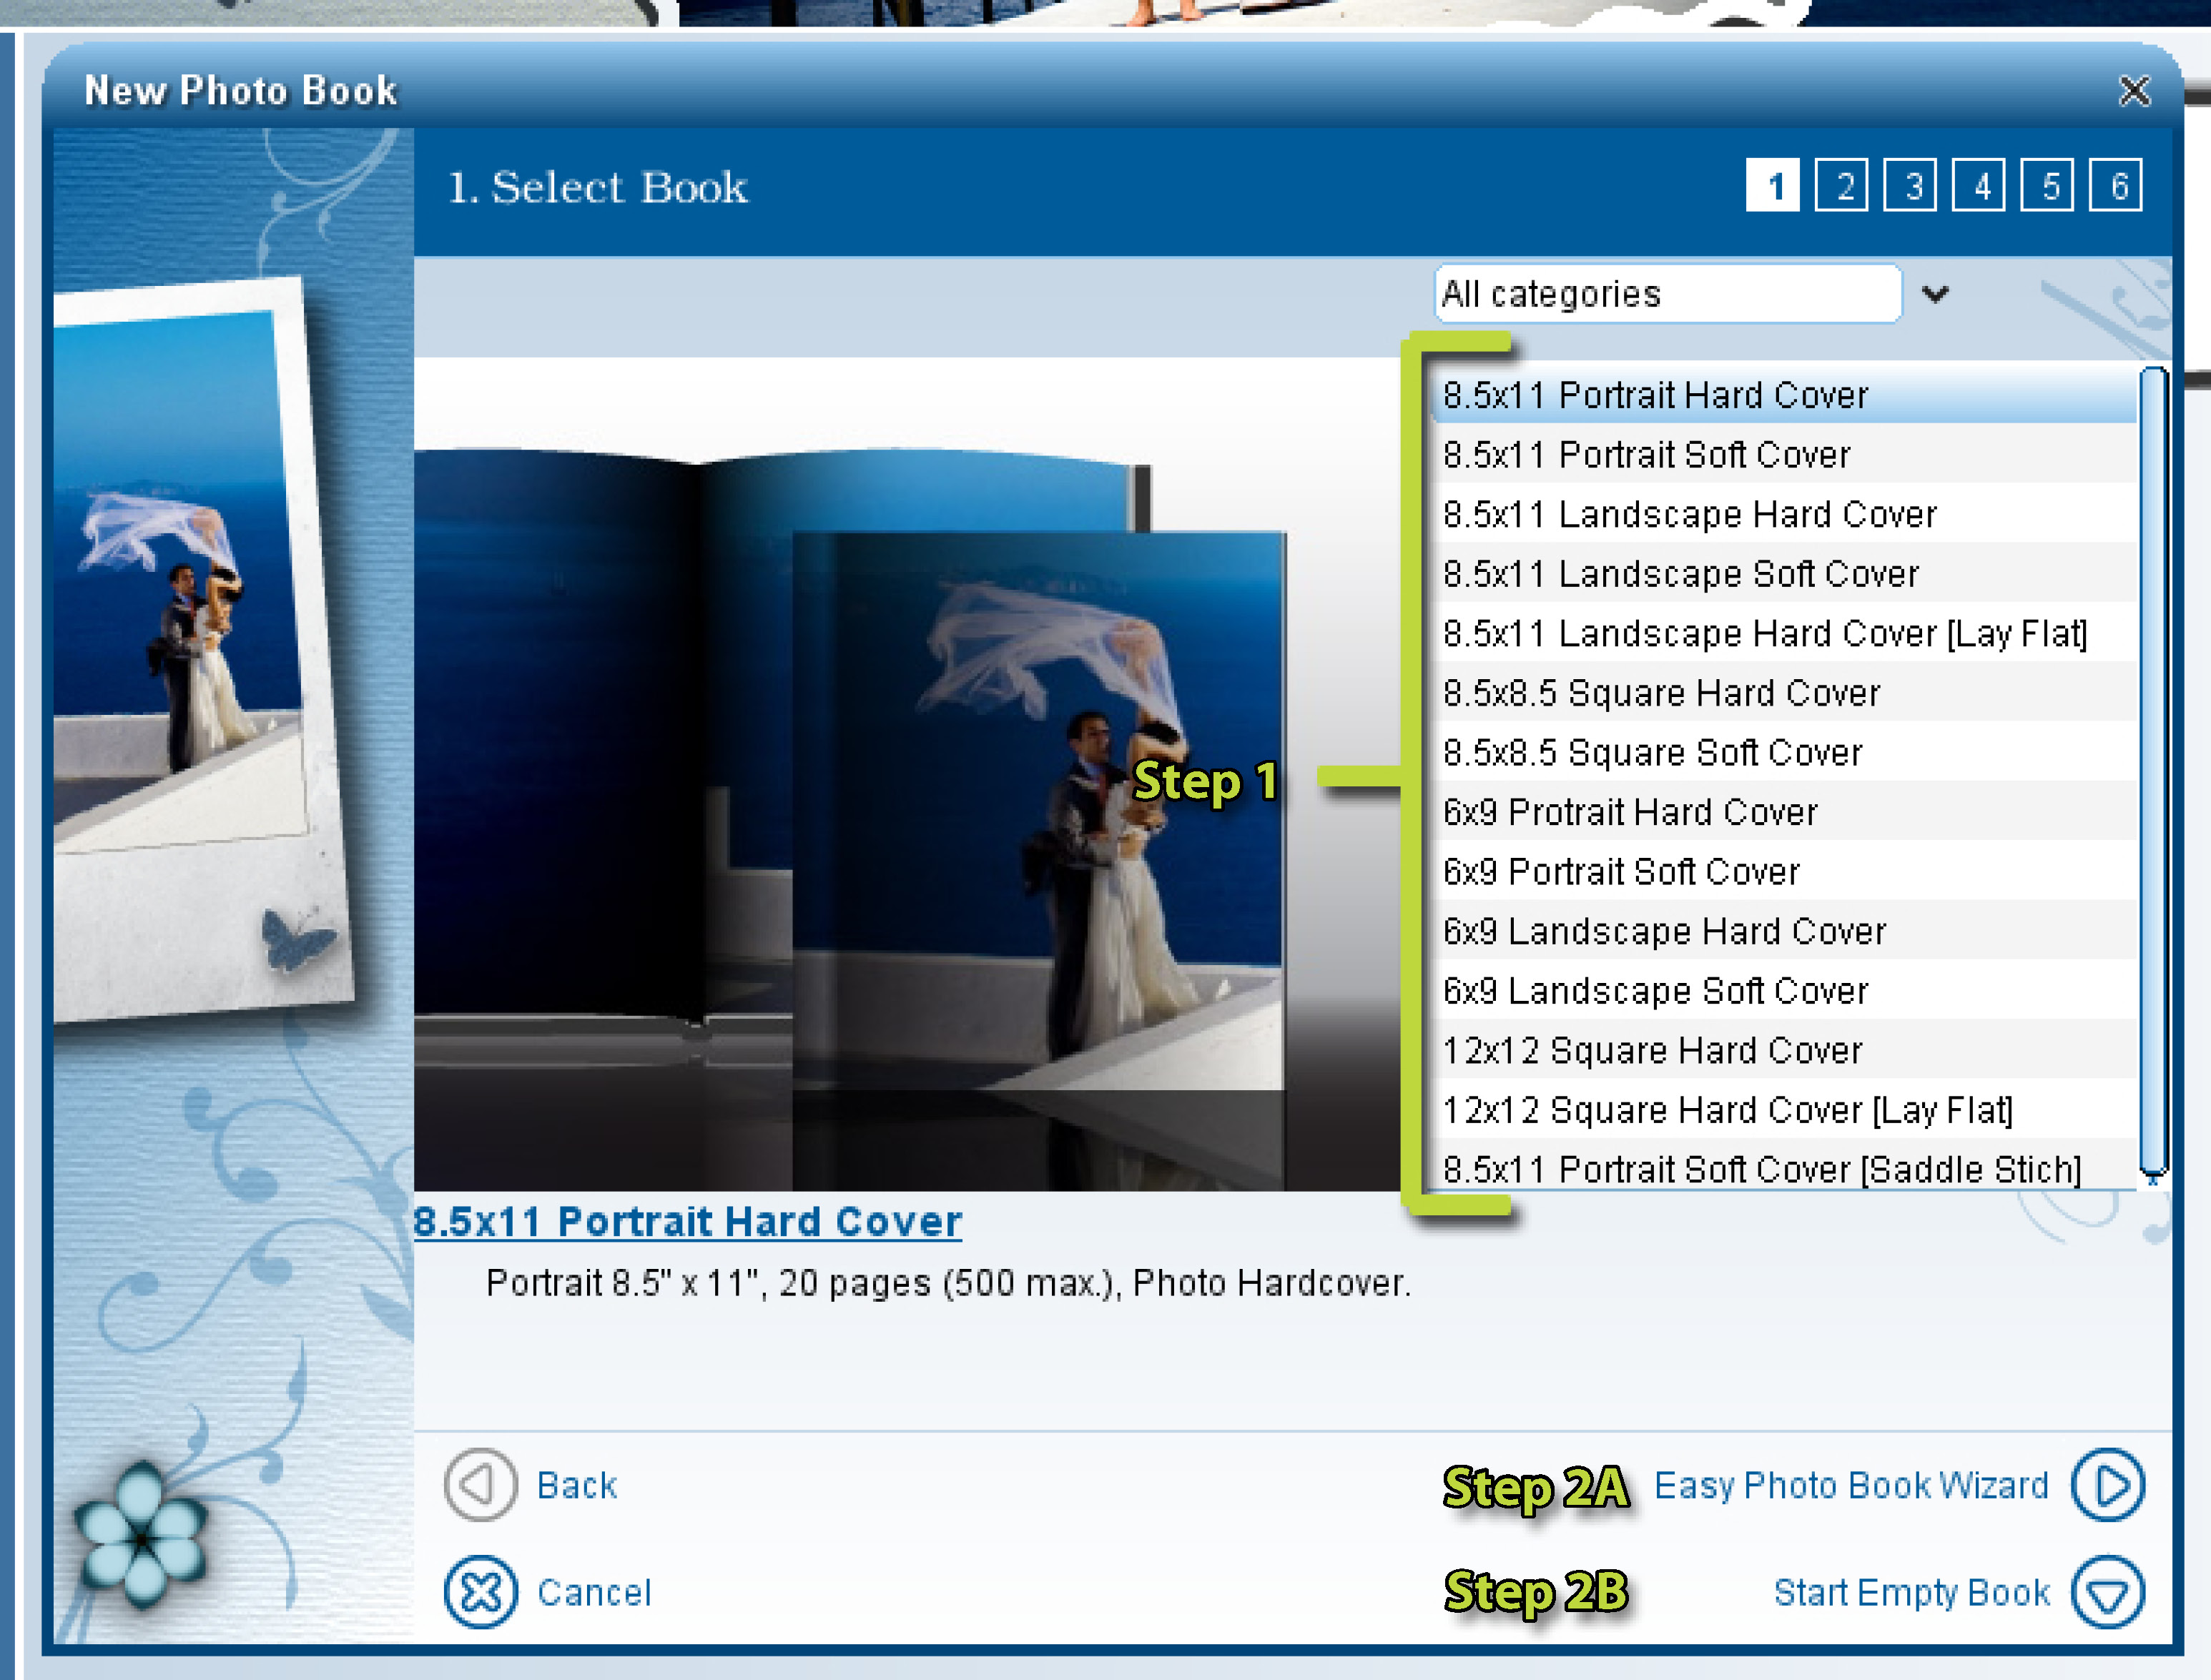
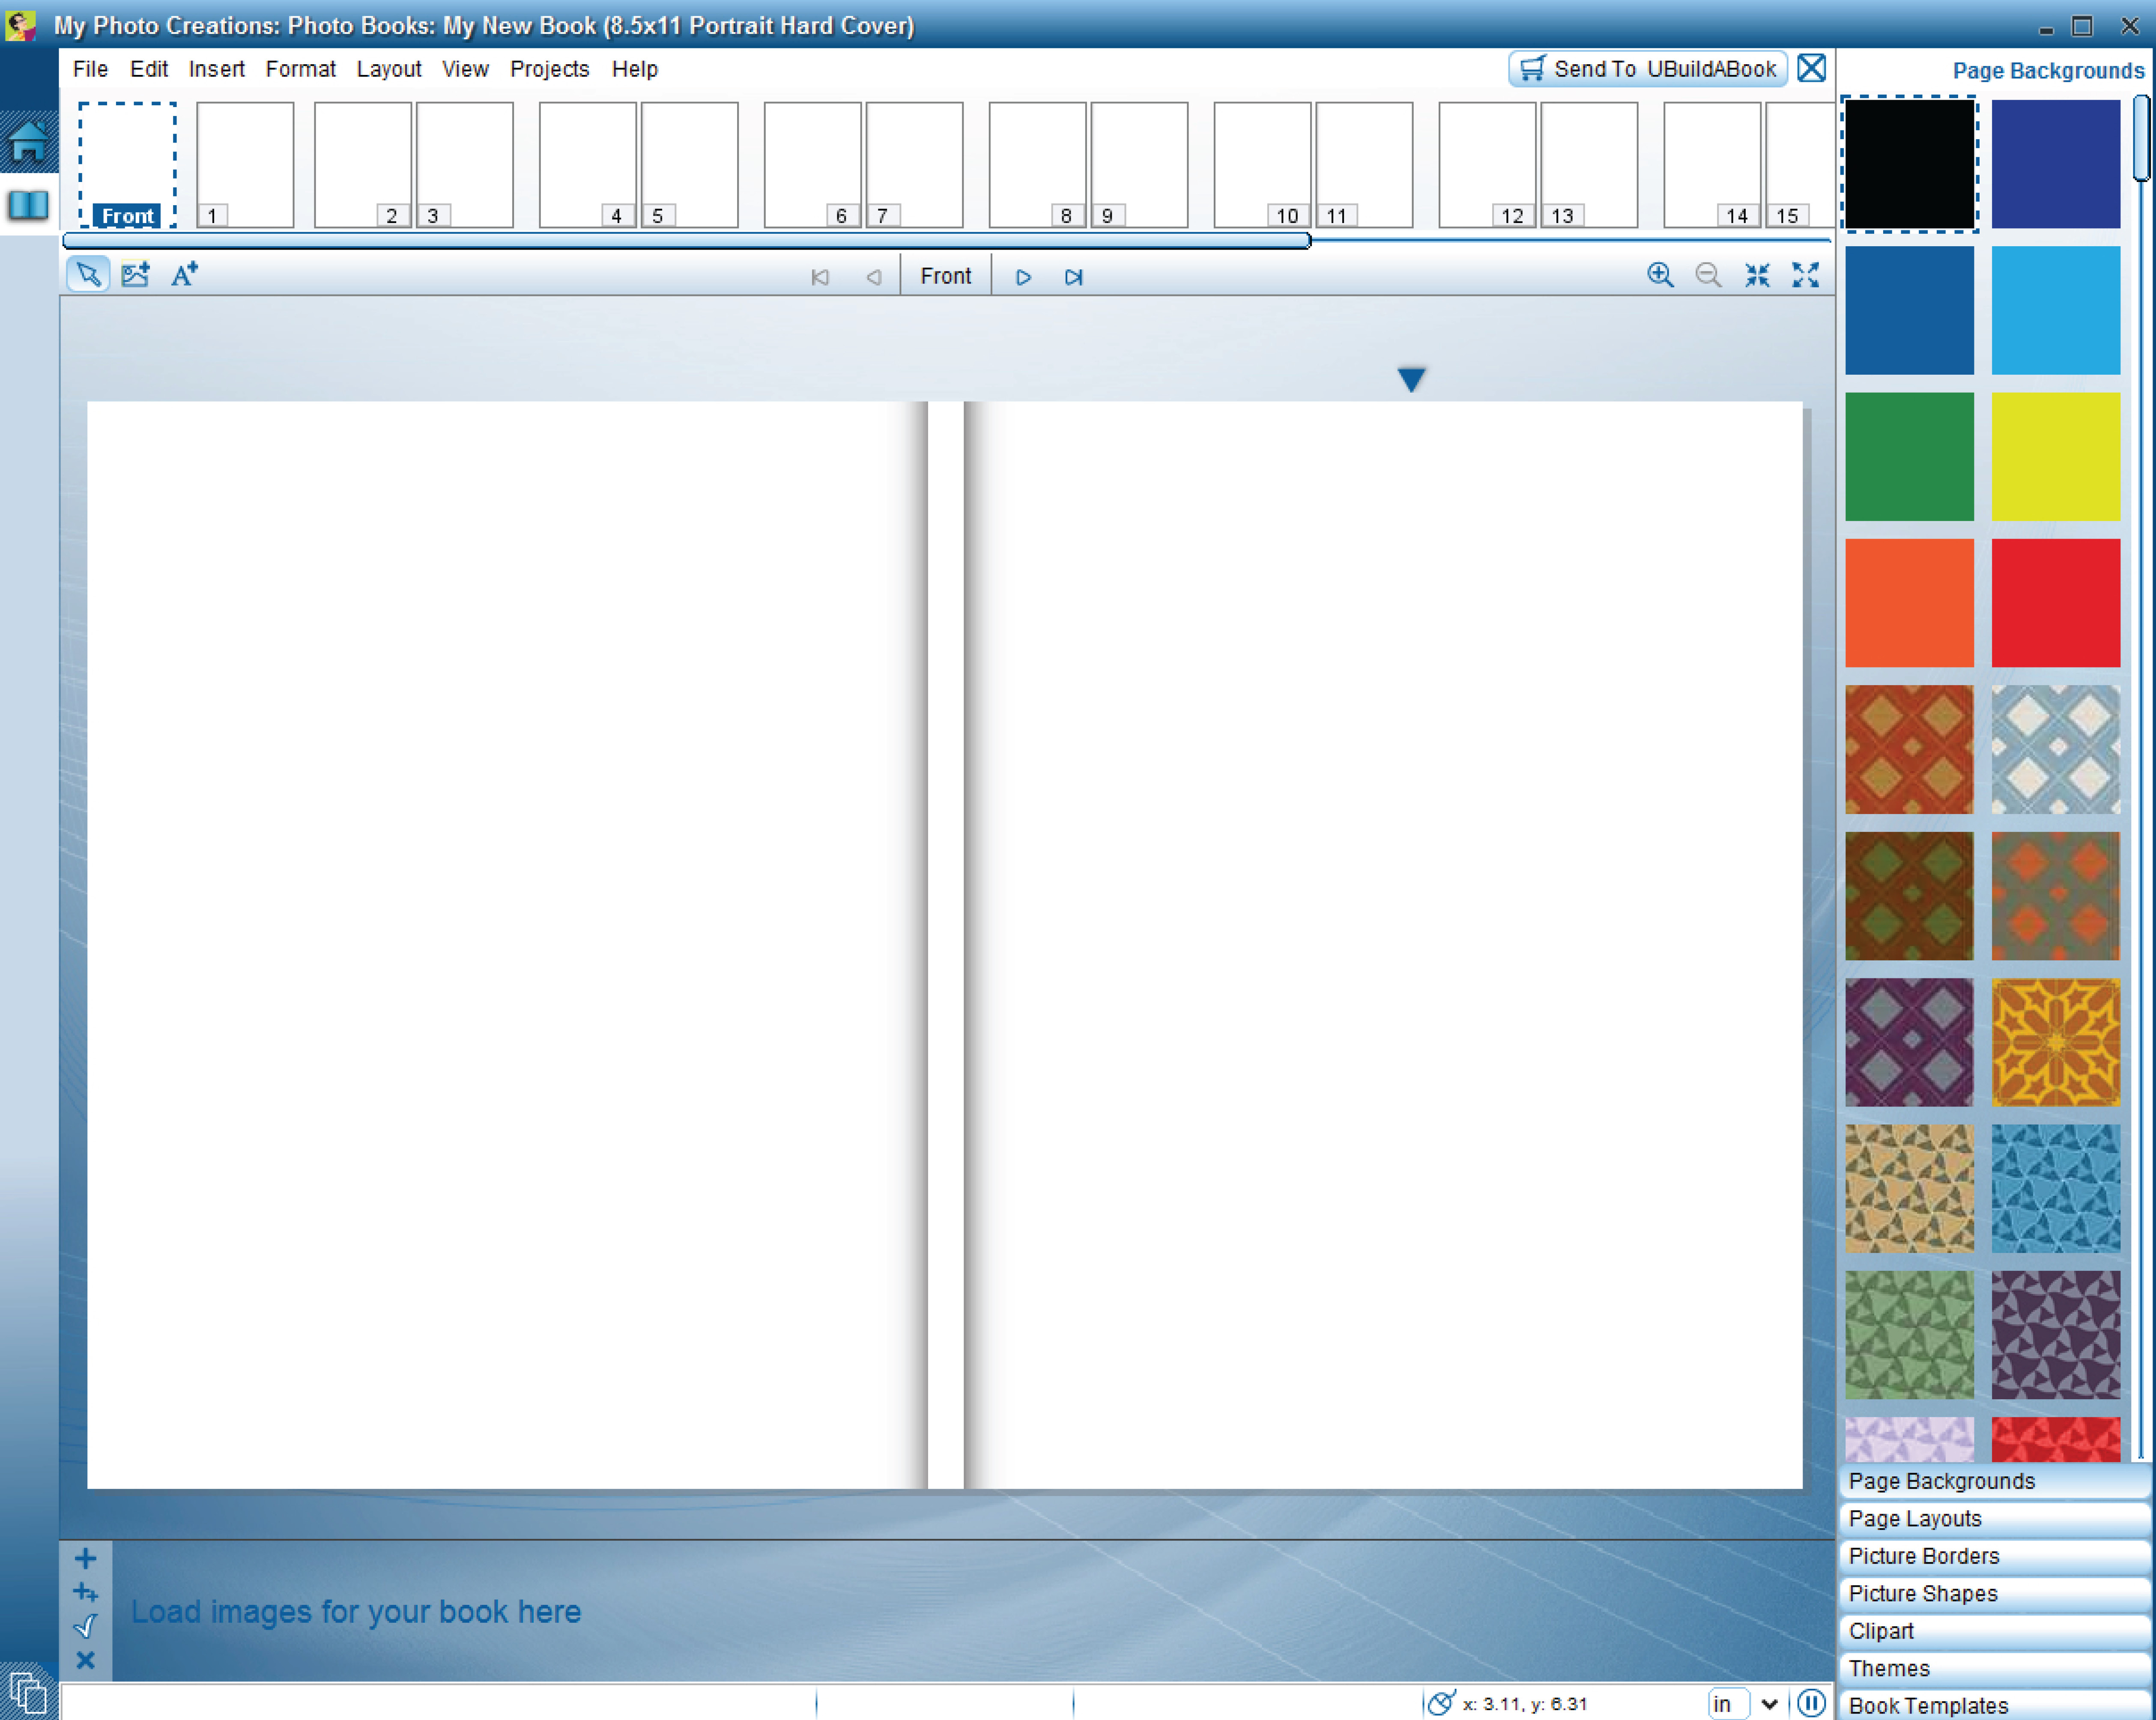
If you chose to start an empty book you will be brought to your book to begin designing it. All books start with 20 pages (the minimum). If you choose the wizard continue to step 3, otherwise skip ahead to step 10.
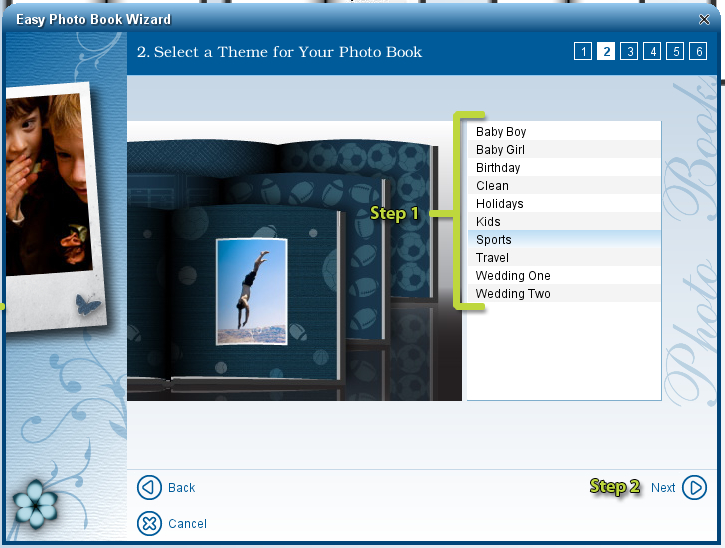
3. Now select a theme for your book. The theme you choose will automatically add a background for each page based on the theme you pick.
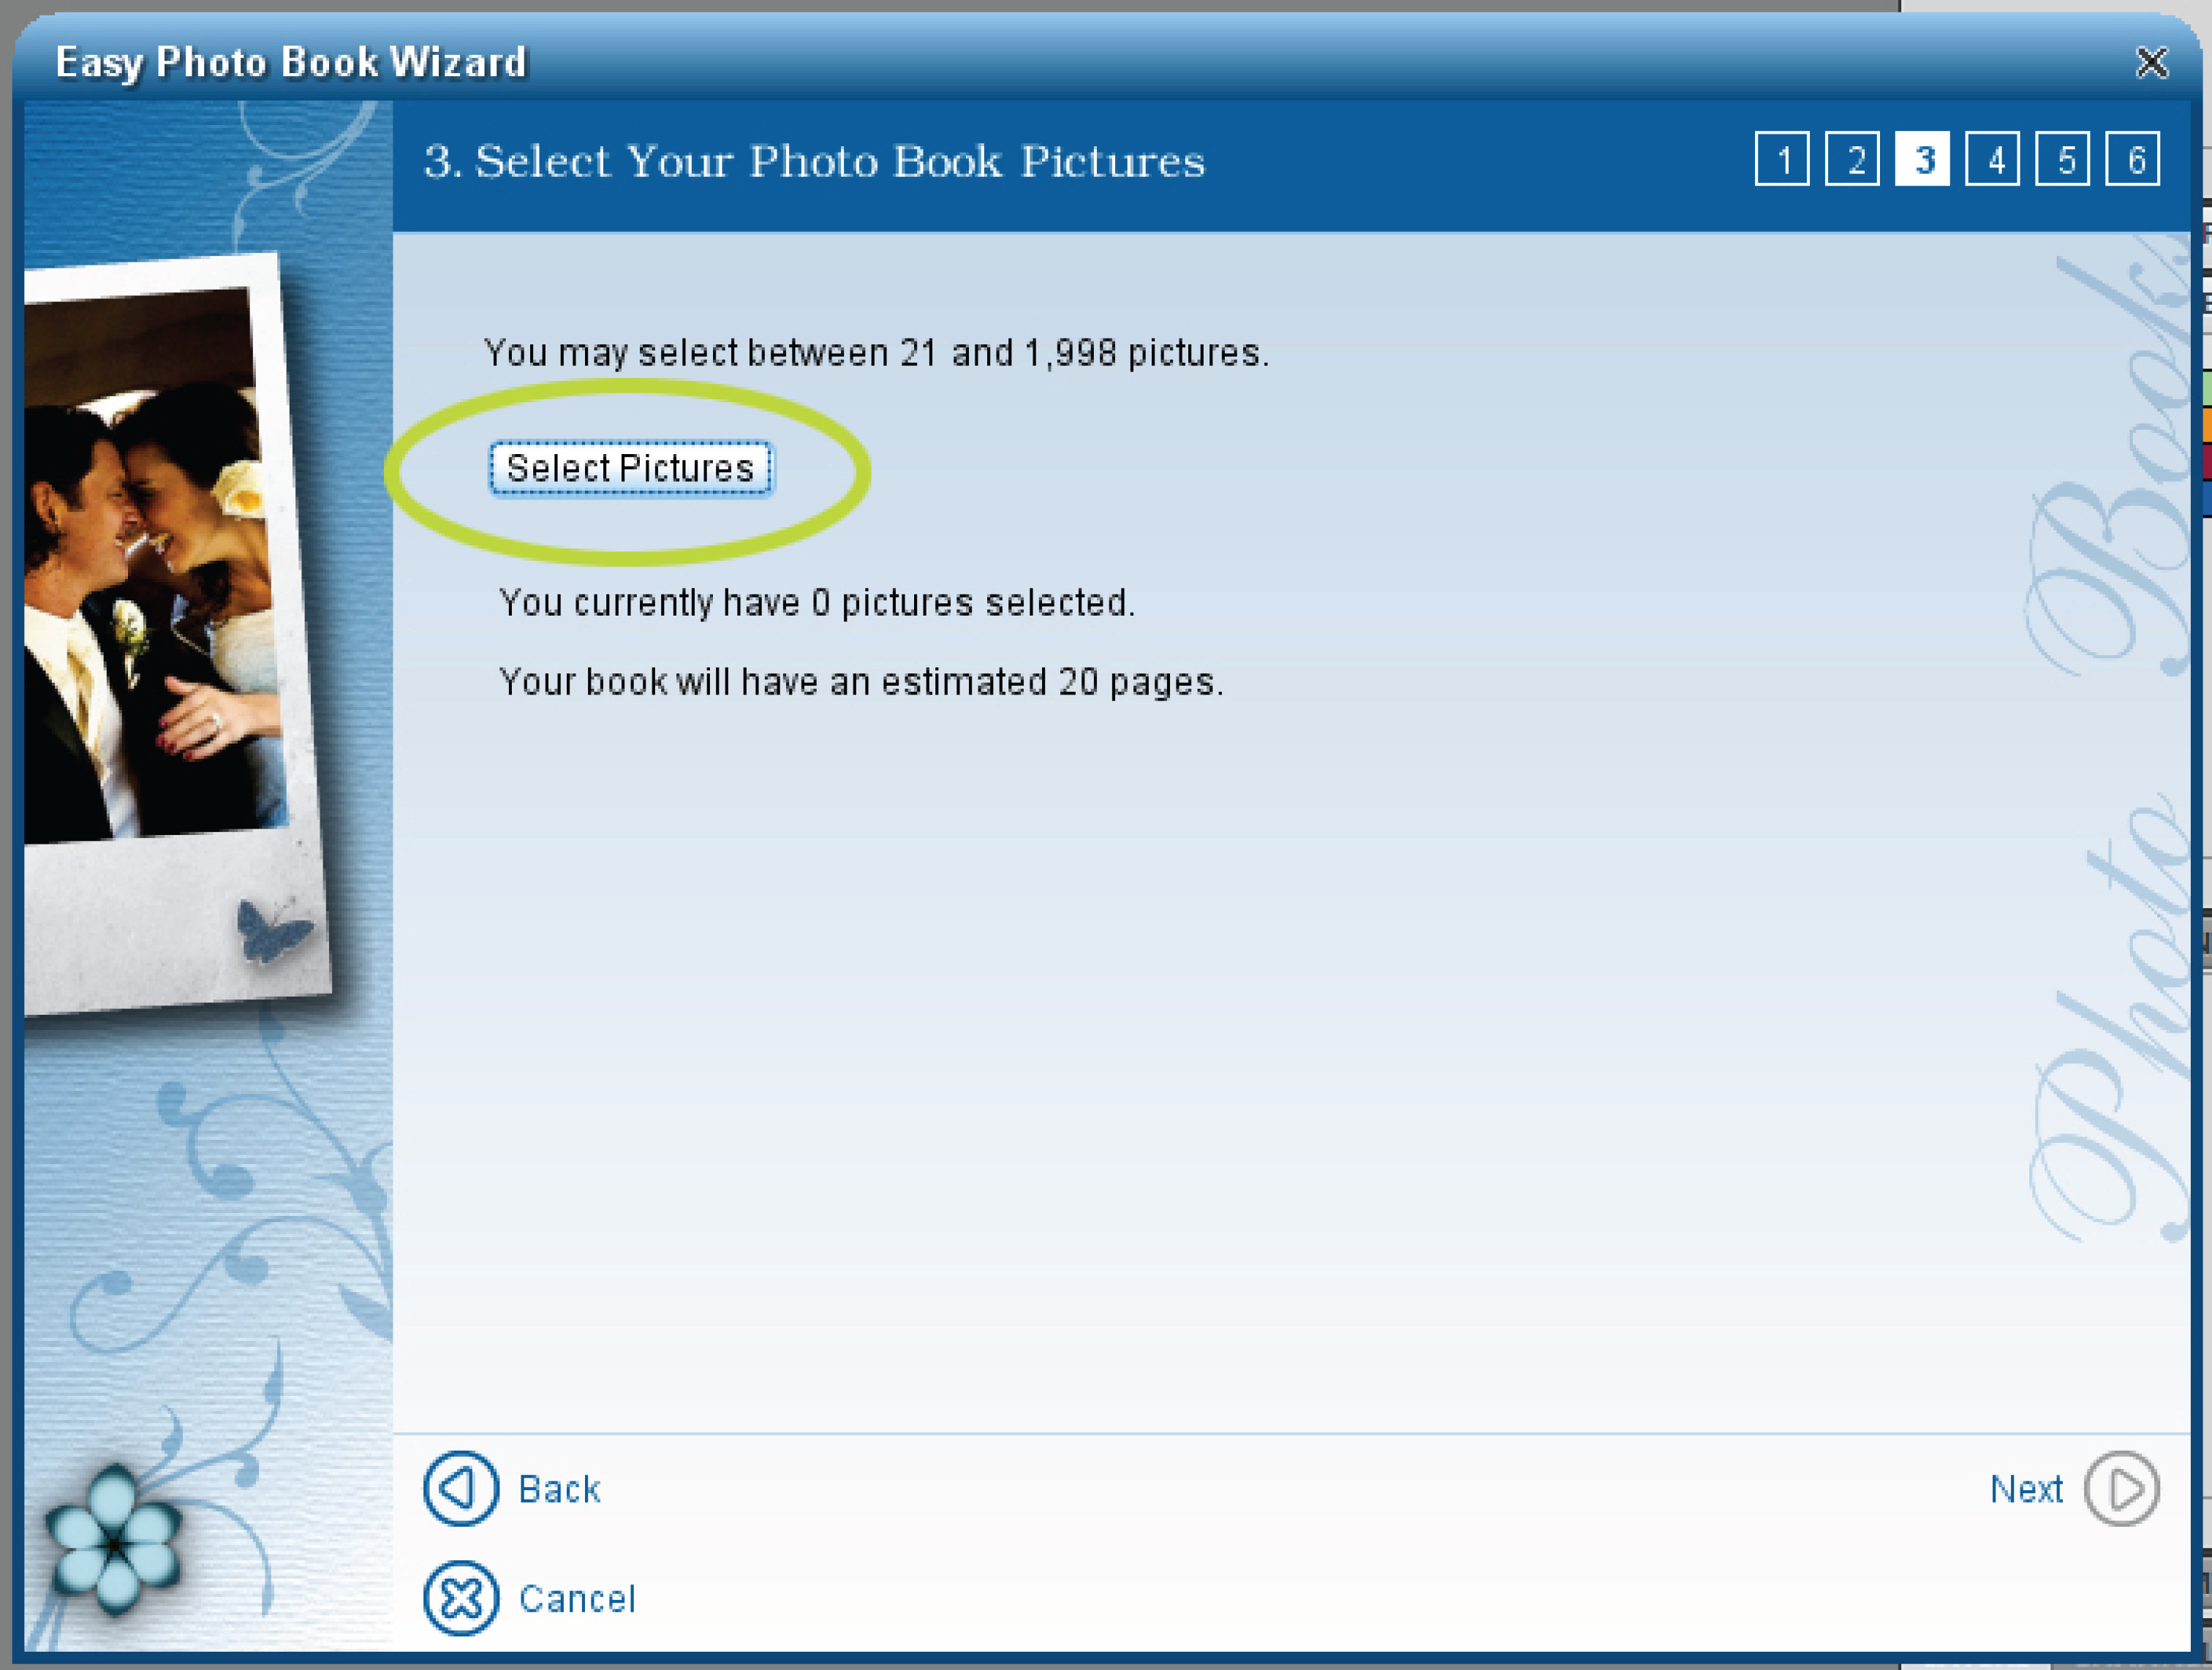
4. Next you will choose the pictures you would like to use for your book.
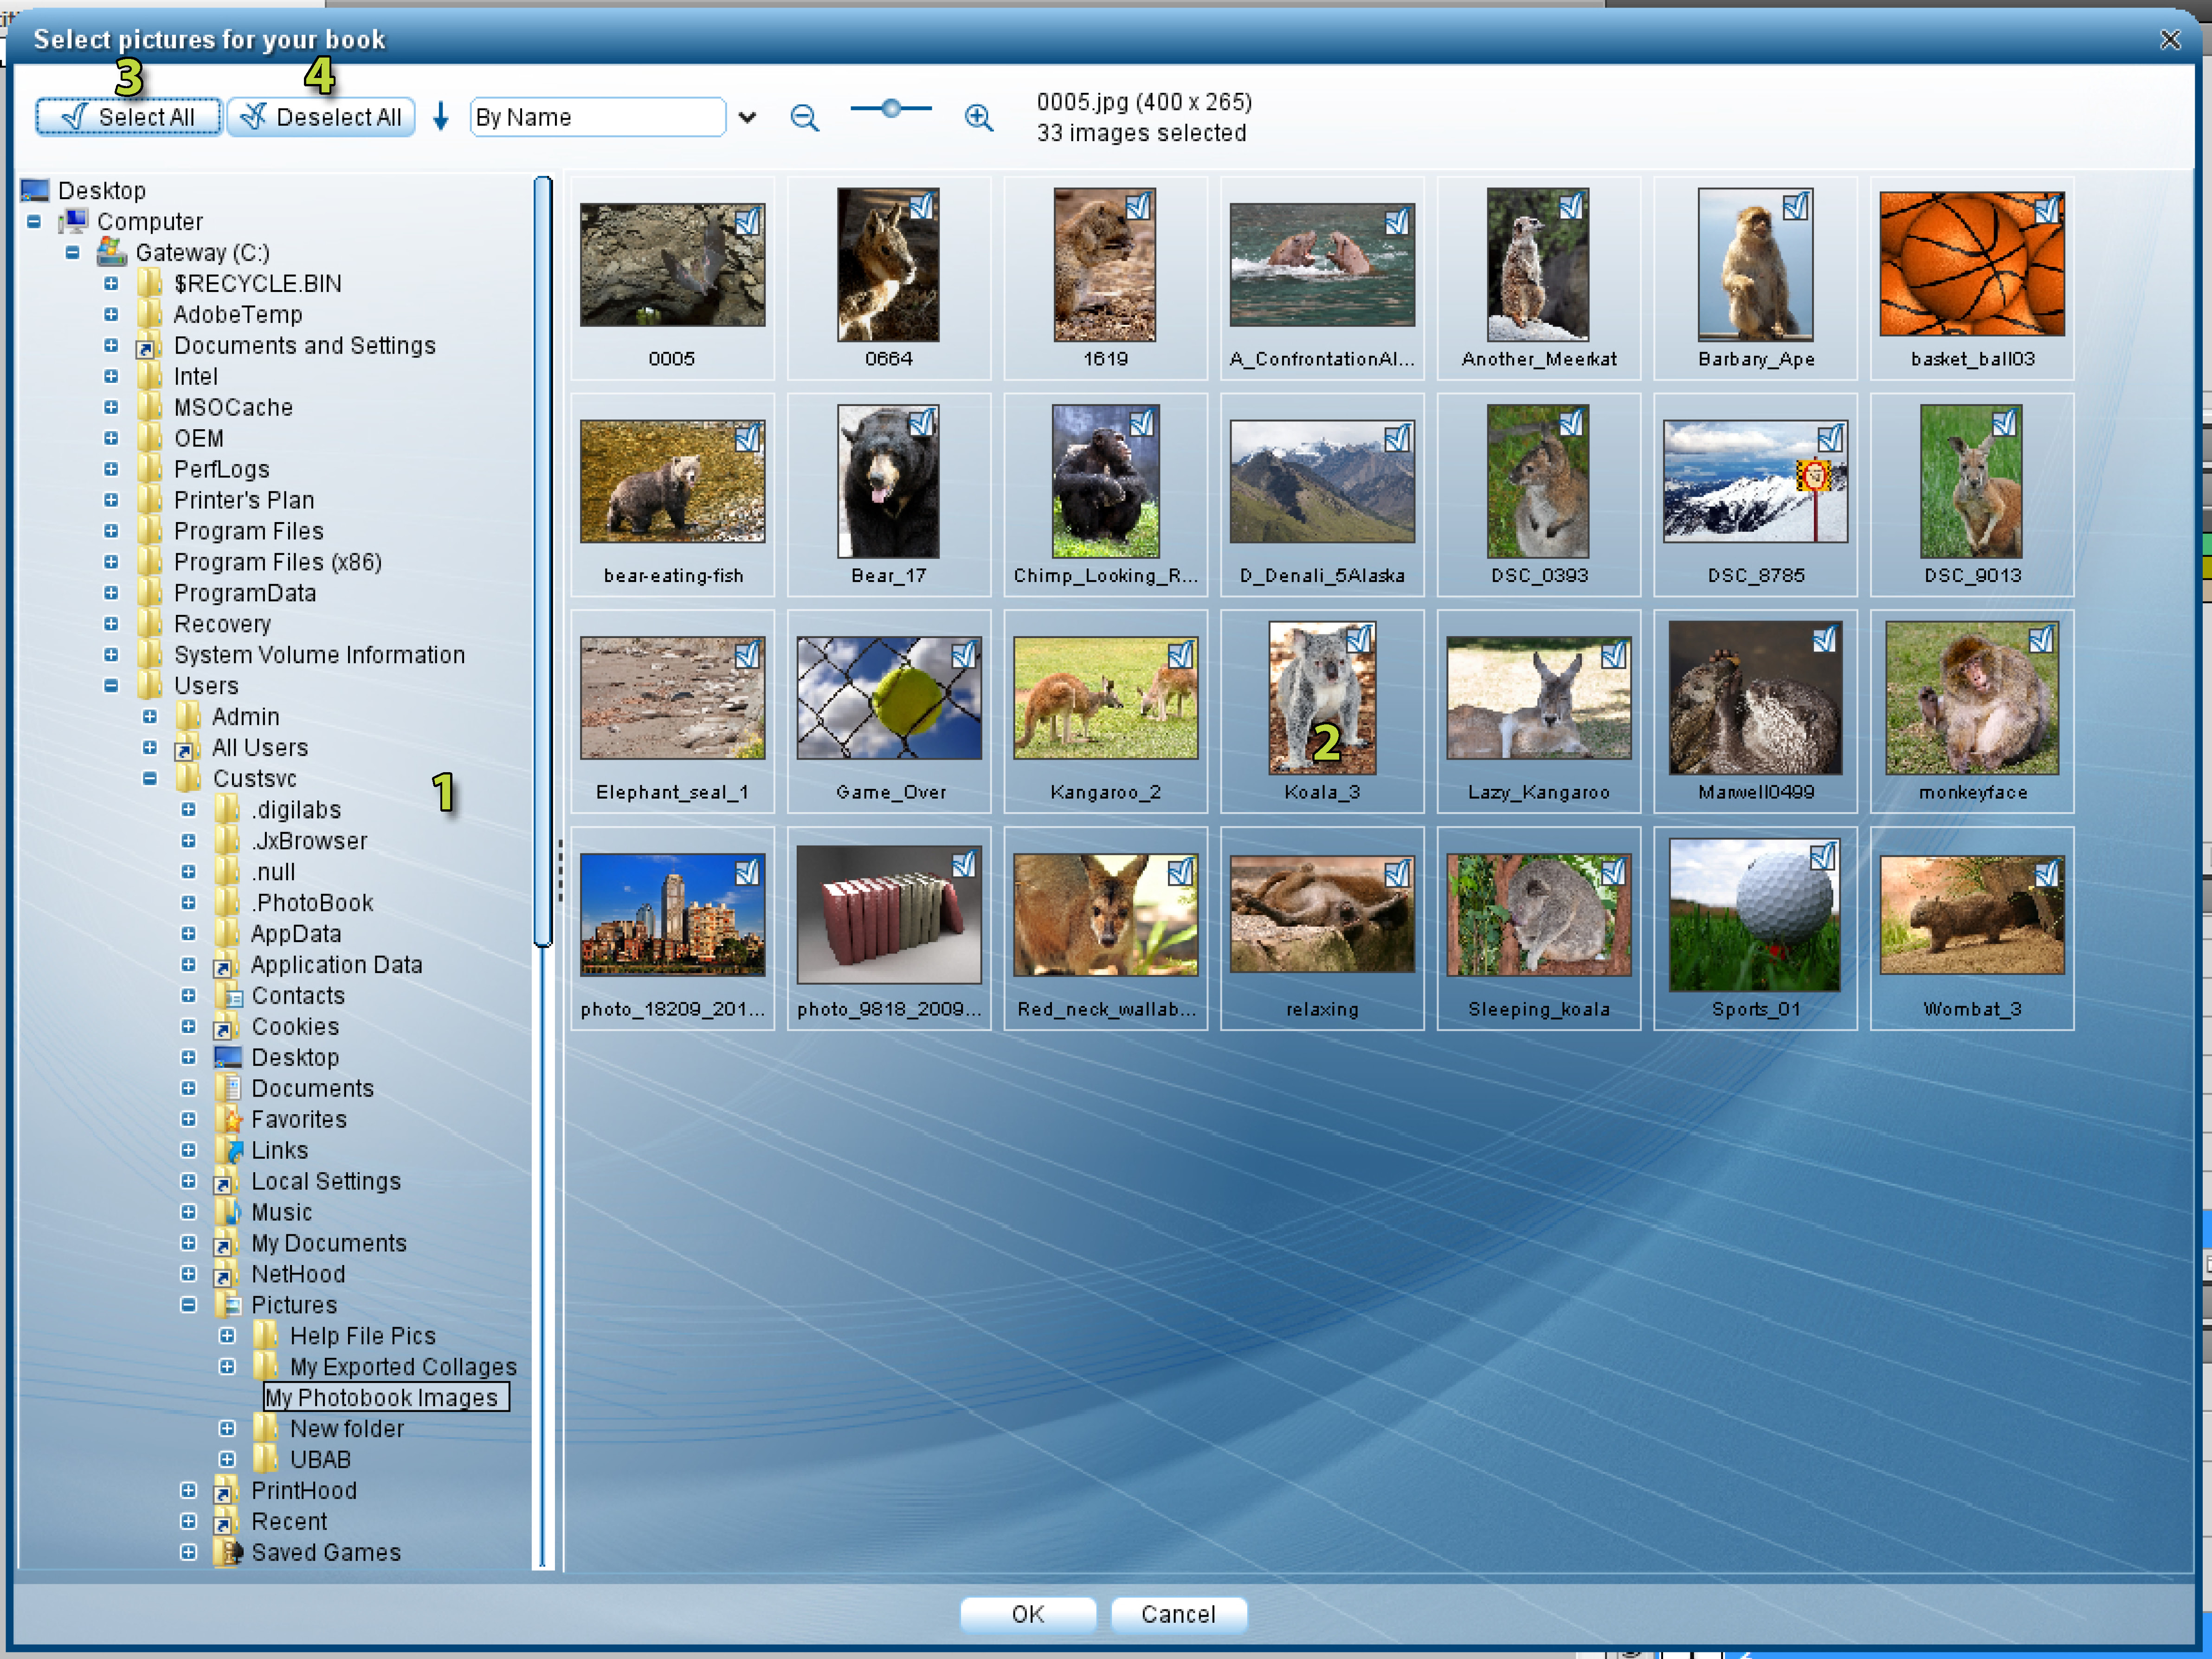
5. Start by selecting the location of your photos(1). It's best if you put all of your photos in one folder prior to starting your book, but this is not required.
Now select the photos in that folder that you want to use (2). If you want all the photos in the folder you can use the Select All Button (3) and to deselect all the photos you can use the Deselect All Button (4).
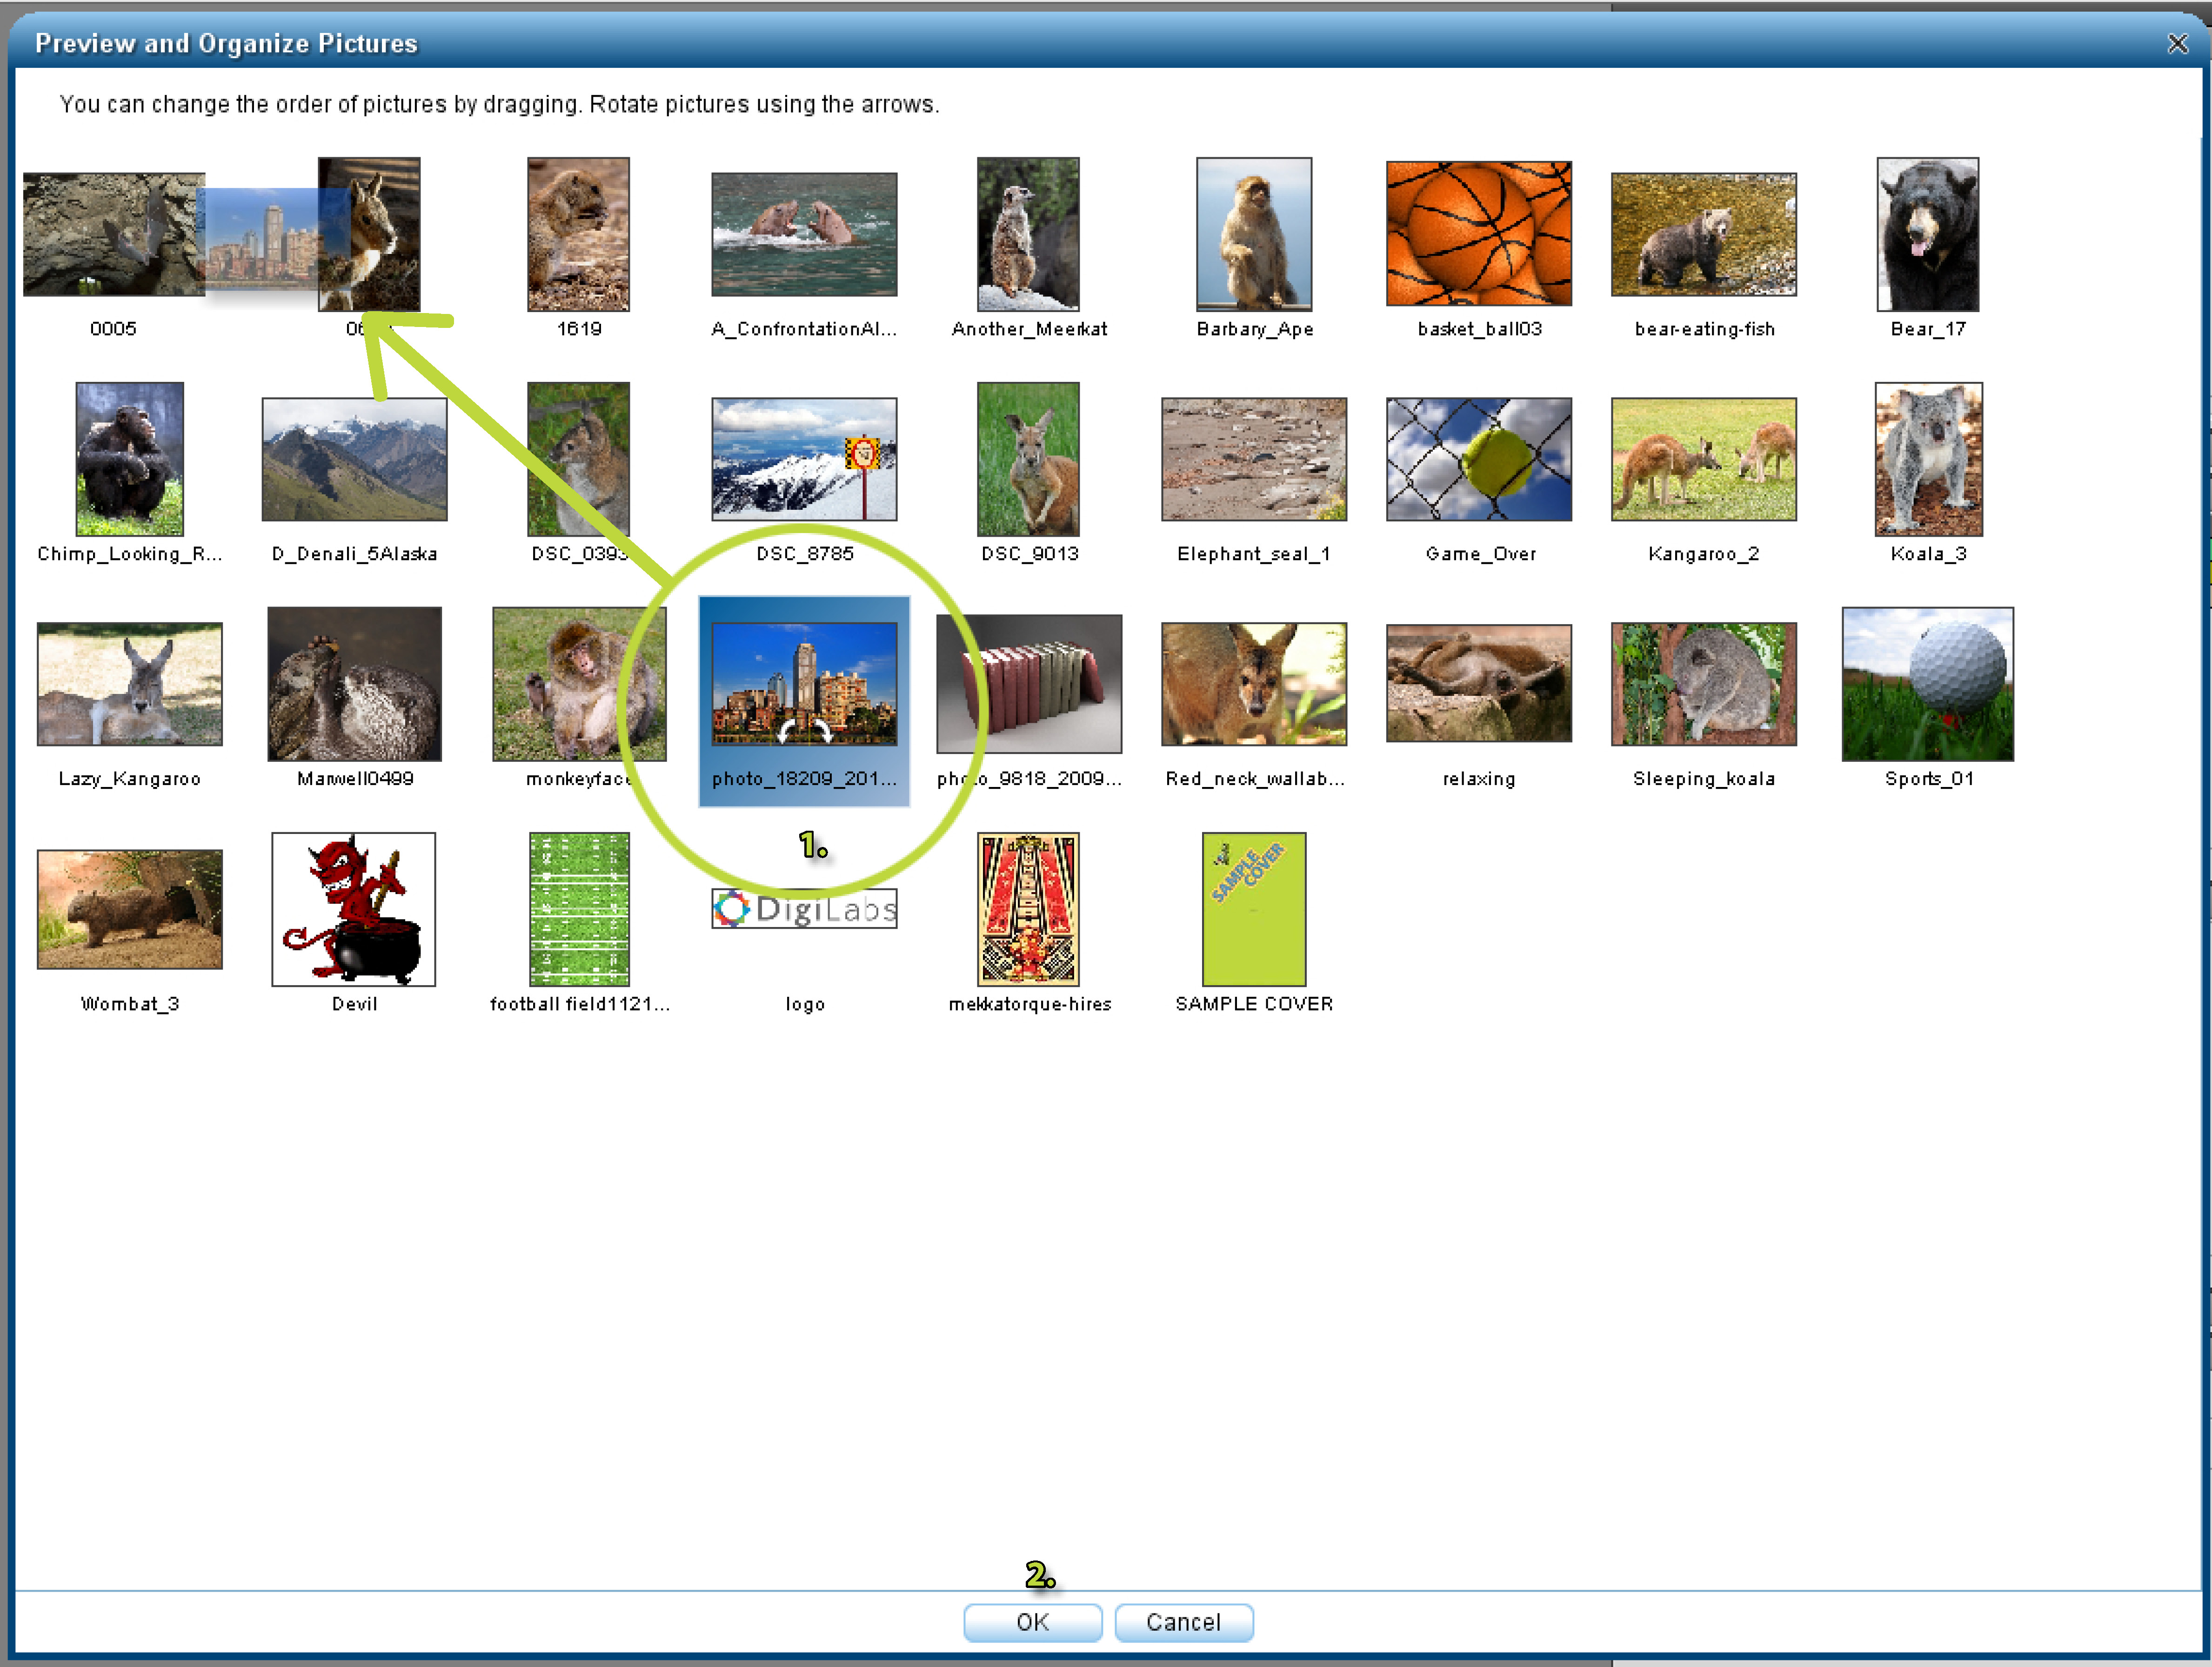
6. Now you can preview all the photos you selected.

7. From here you can choose the order of your pictures. To move a picture grab it, and drag it to the spot you want it. These photos will be placed automatically throughout your book in the order they are in this list. The first image will be the cover. If you have more 20 photos then it will place more than one per page, if you have less than 20 photos you will be warned that the remaining pages will have a blank spot to add more photos.
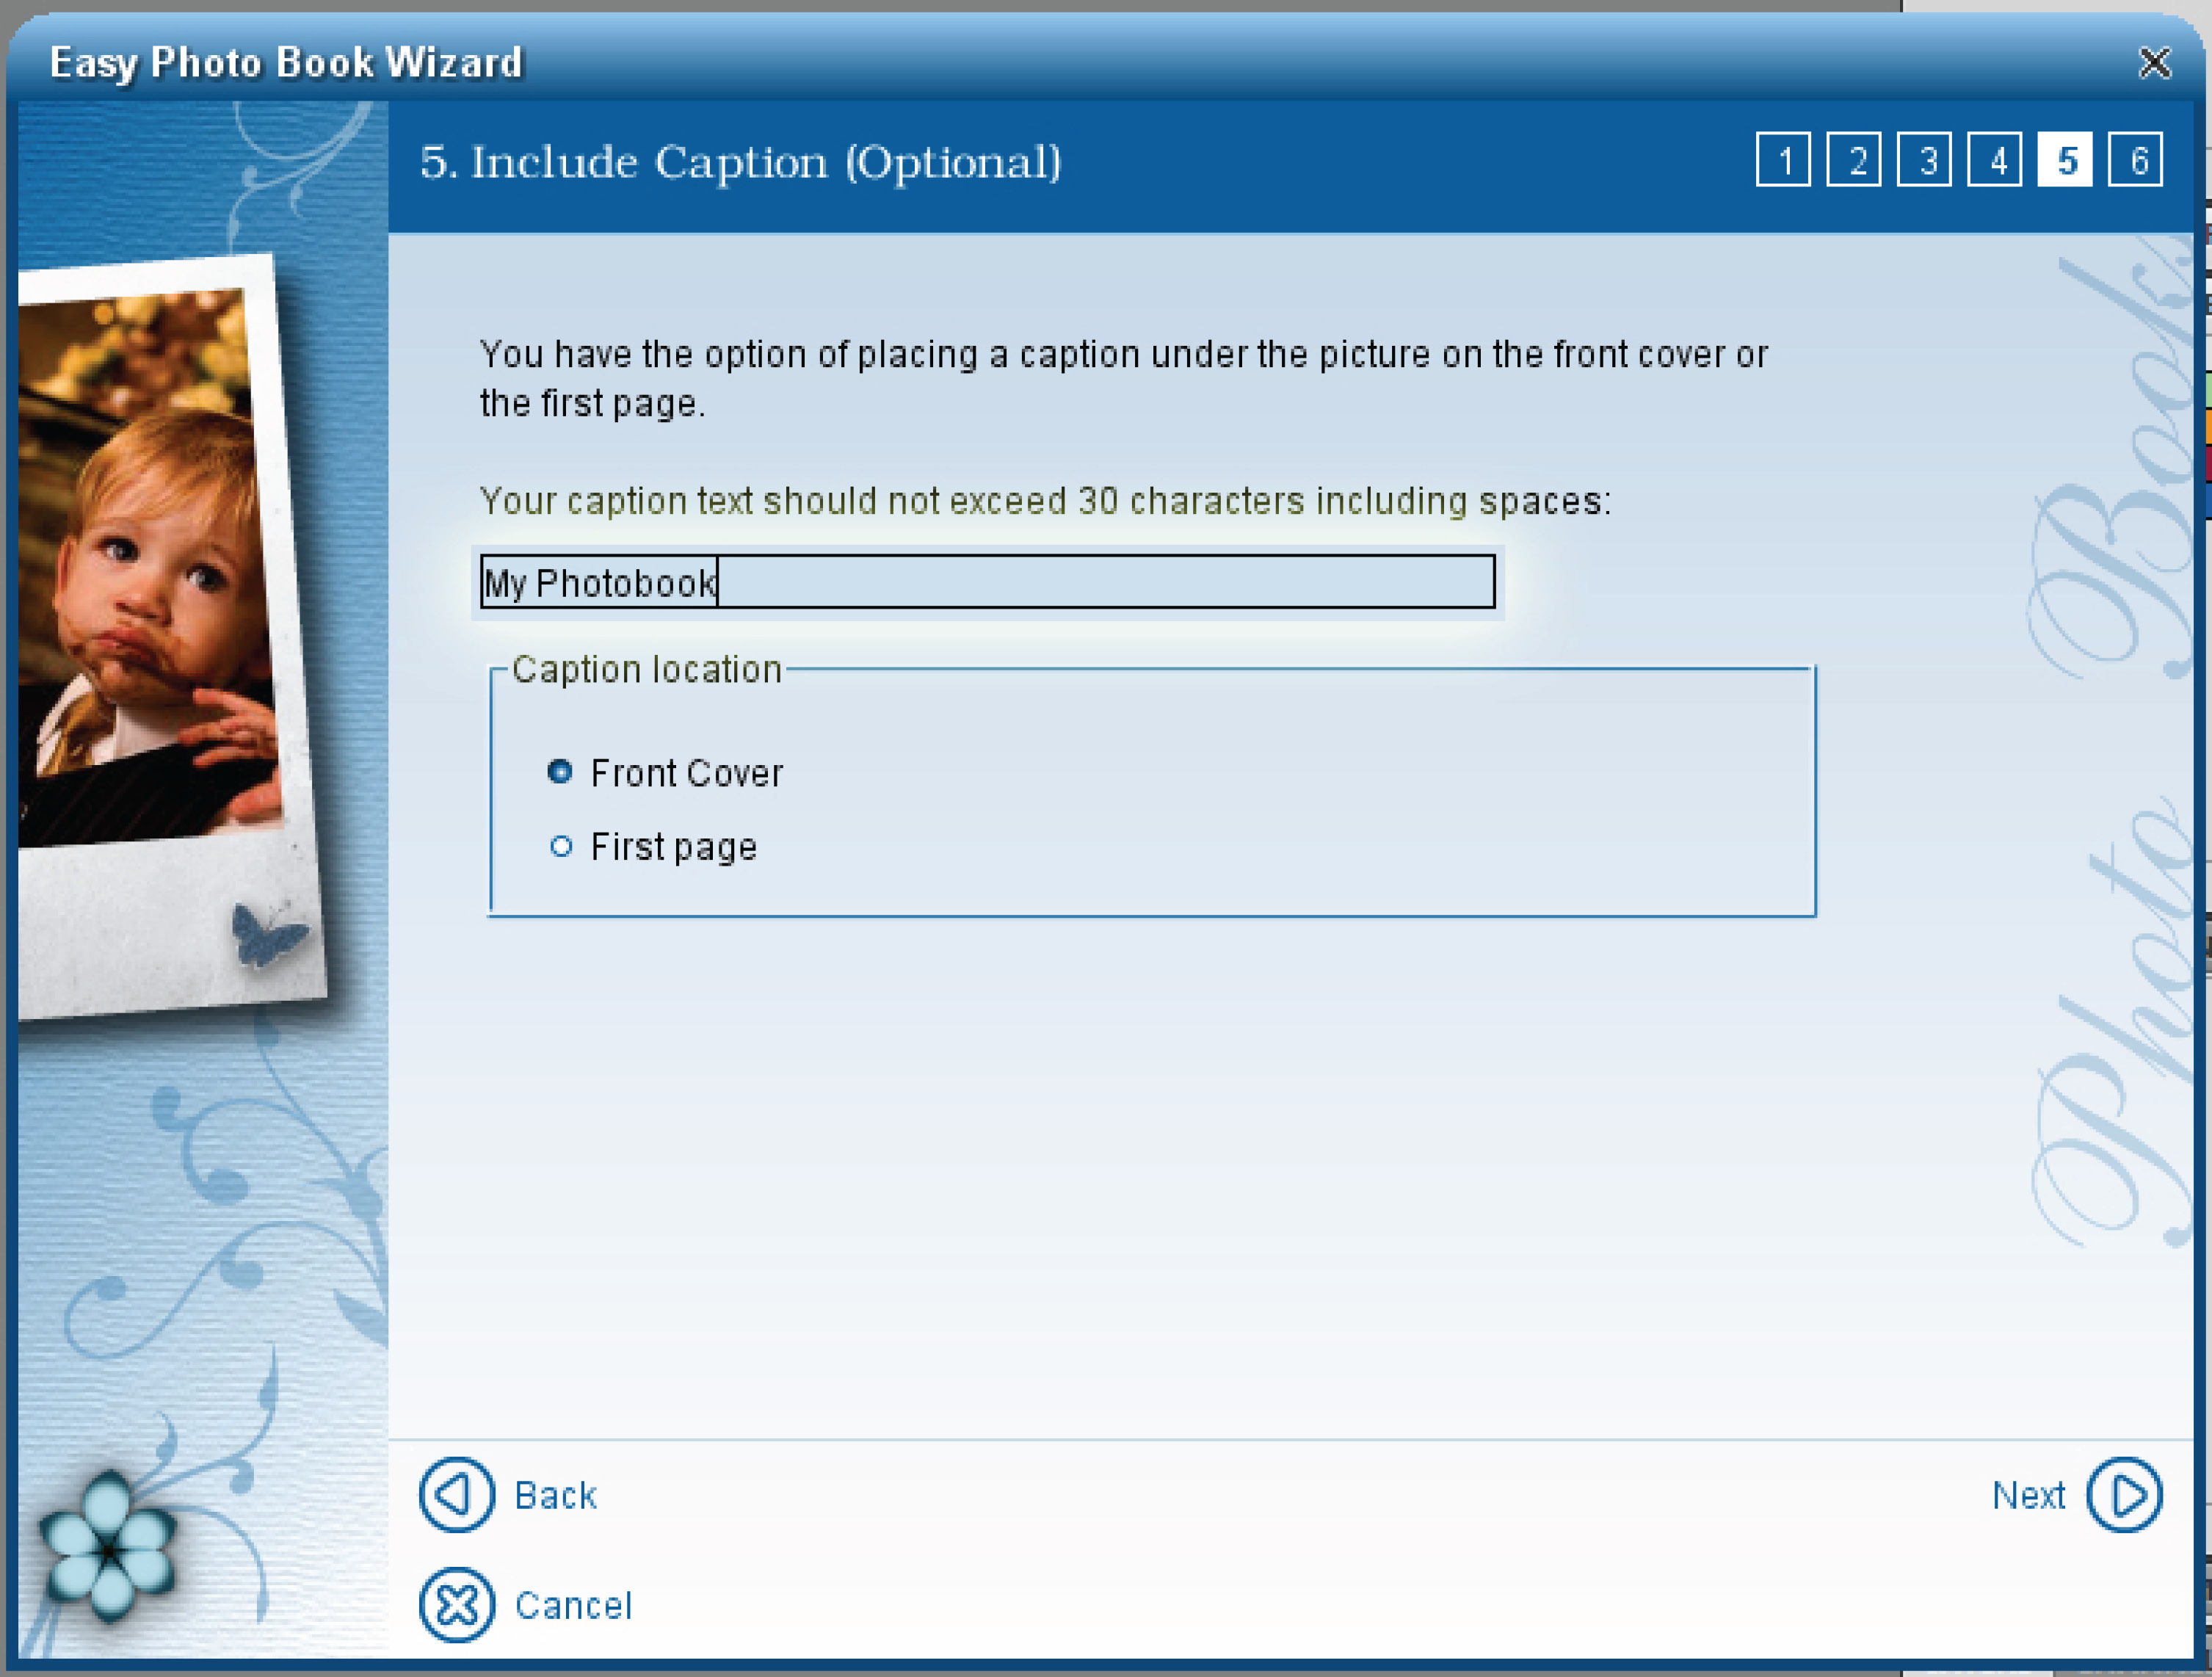
8. The next step will ask you to add a caption for the Cover or First page of your book
9. Click finish and your book will be created. You will then be able to make further changes like adding additional photos or text.