My Photo Creations - Exporting and Importing
Exporting and Importing
The exporting and importing feature is designed for two purposes, to allow you to move your book to another computer to edit, or to create a backup of your book. If your are using it to edit your book on multiple computers keep in mind that you can only work from one computer at a time. Once you export the book and import it on another computer, only the computer you imported it to can edit the book, if you edit it from two computers at the same time you will have no way to combine the changes made from each computer. If you are using it for backup you will have to override your previous book to import the backup. Please note that you should always Export/Import from the computer, not a removable drive. Once the process is complete the DLP file created can be moved to and from a removable drive as needed.
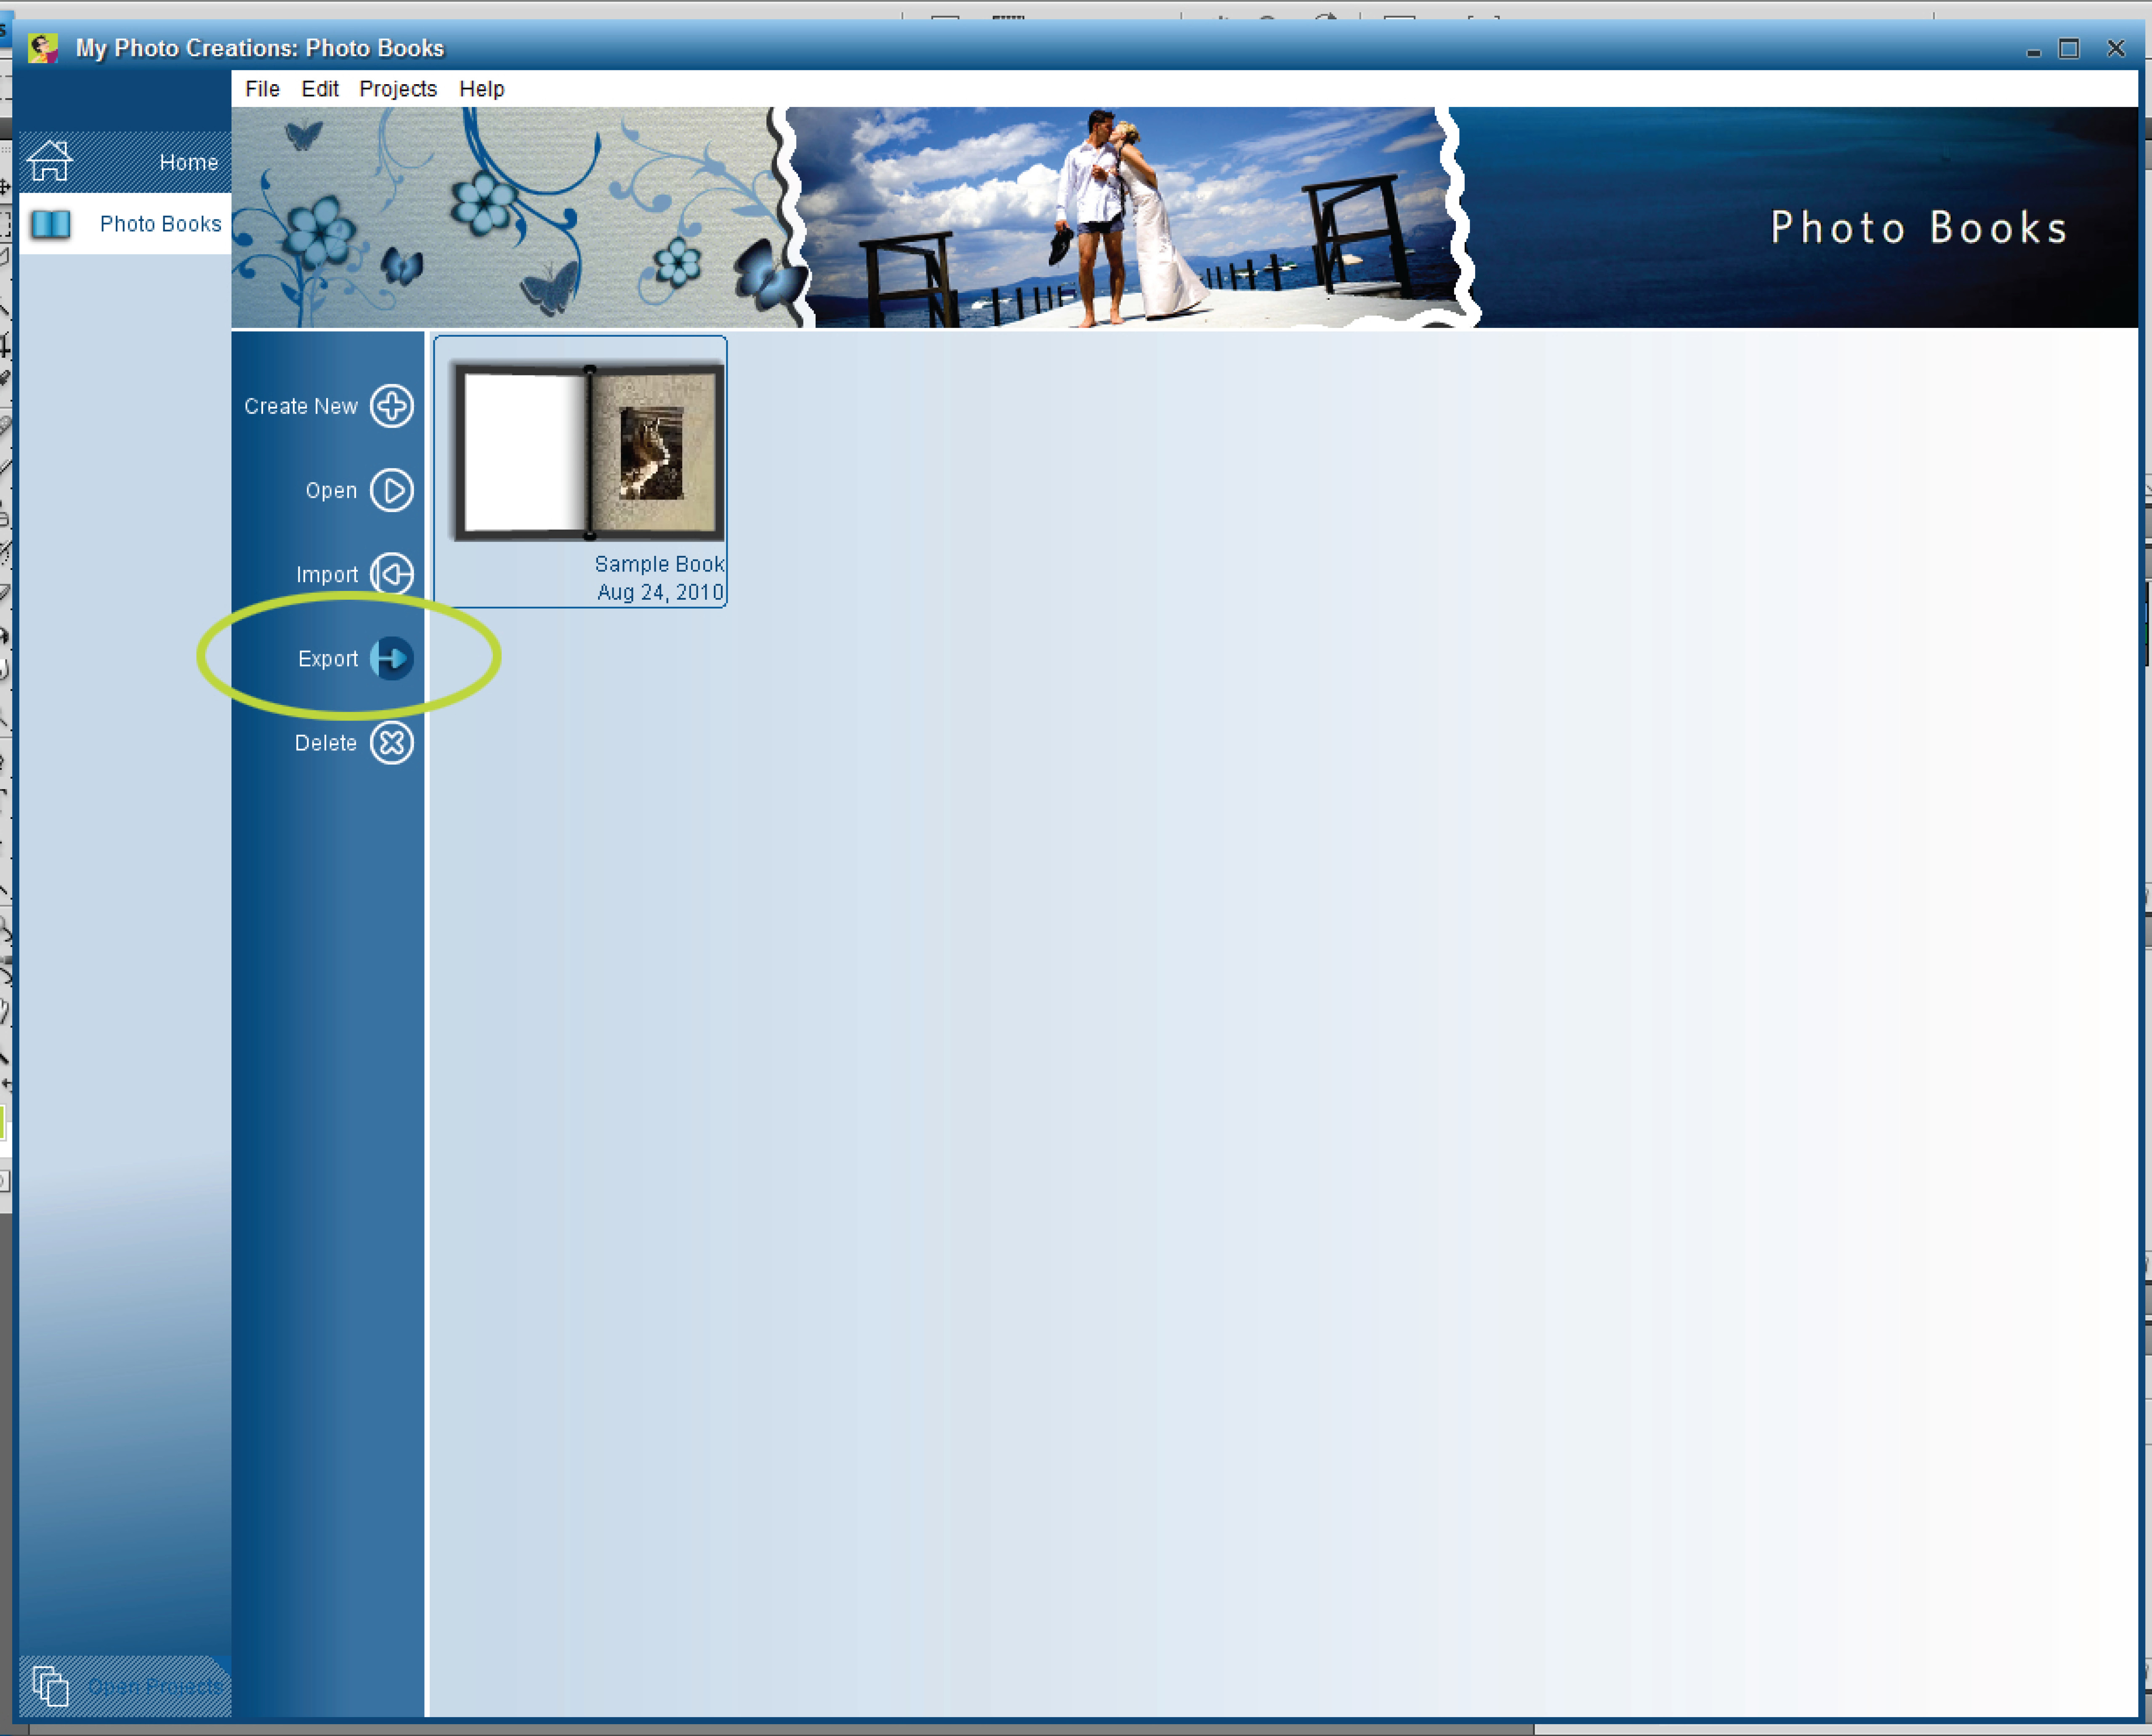
1. To export your book select it and click the export button from the Photo Books Menu.
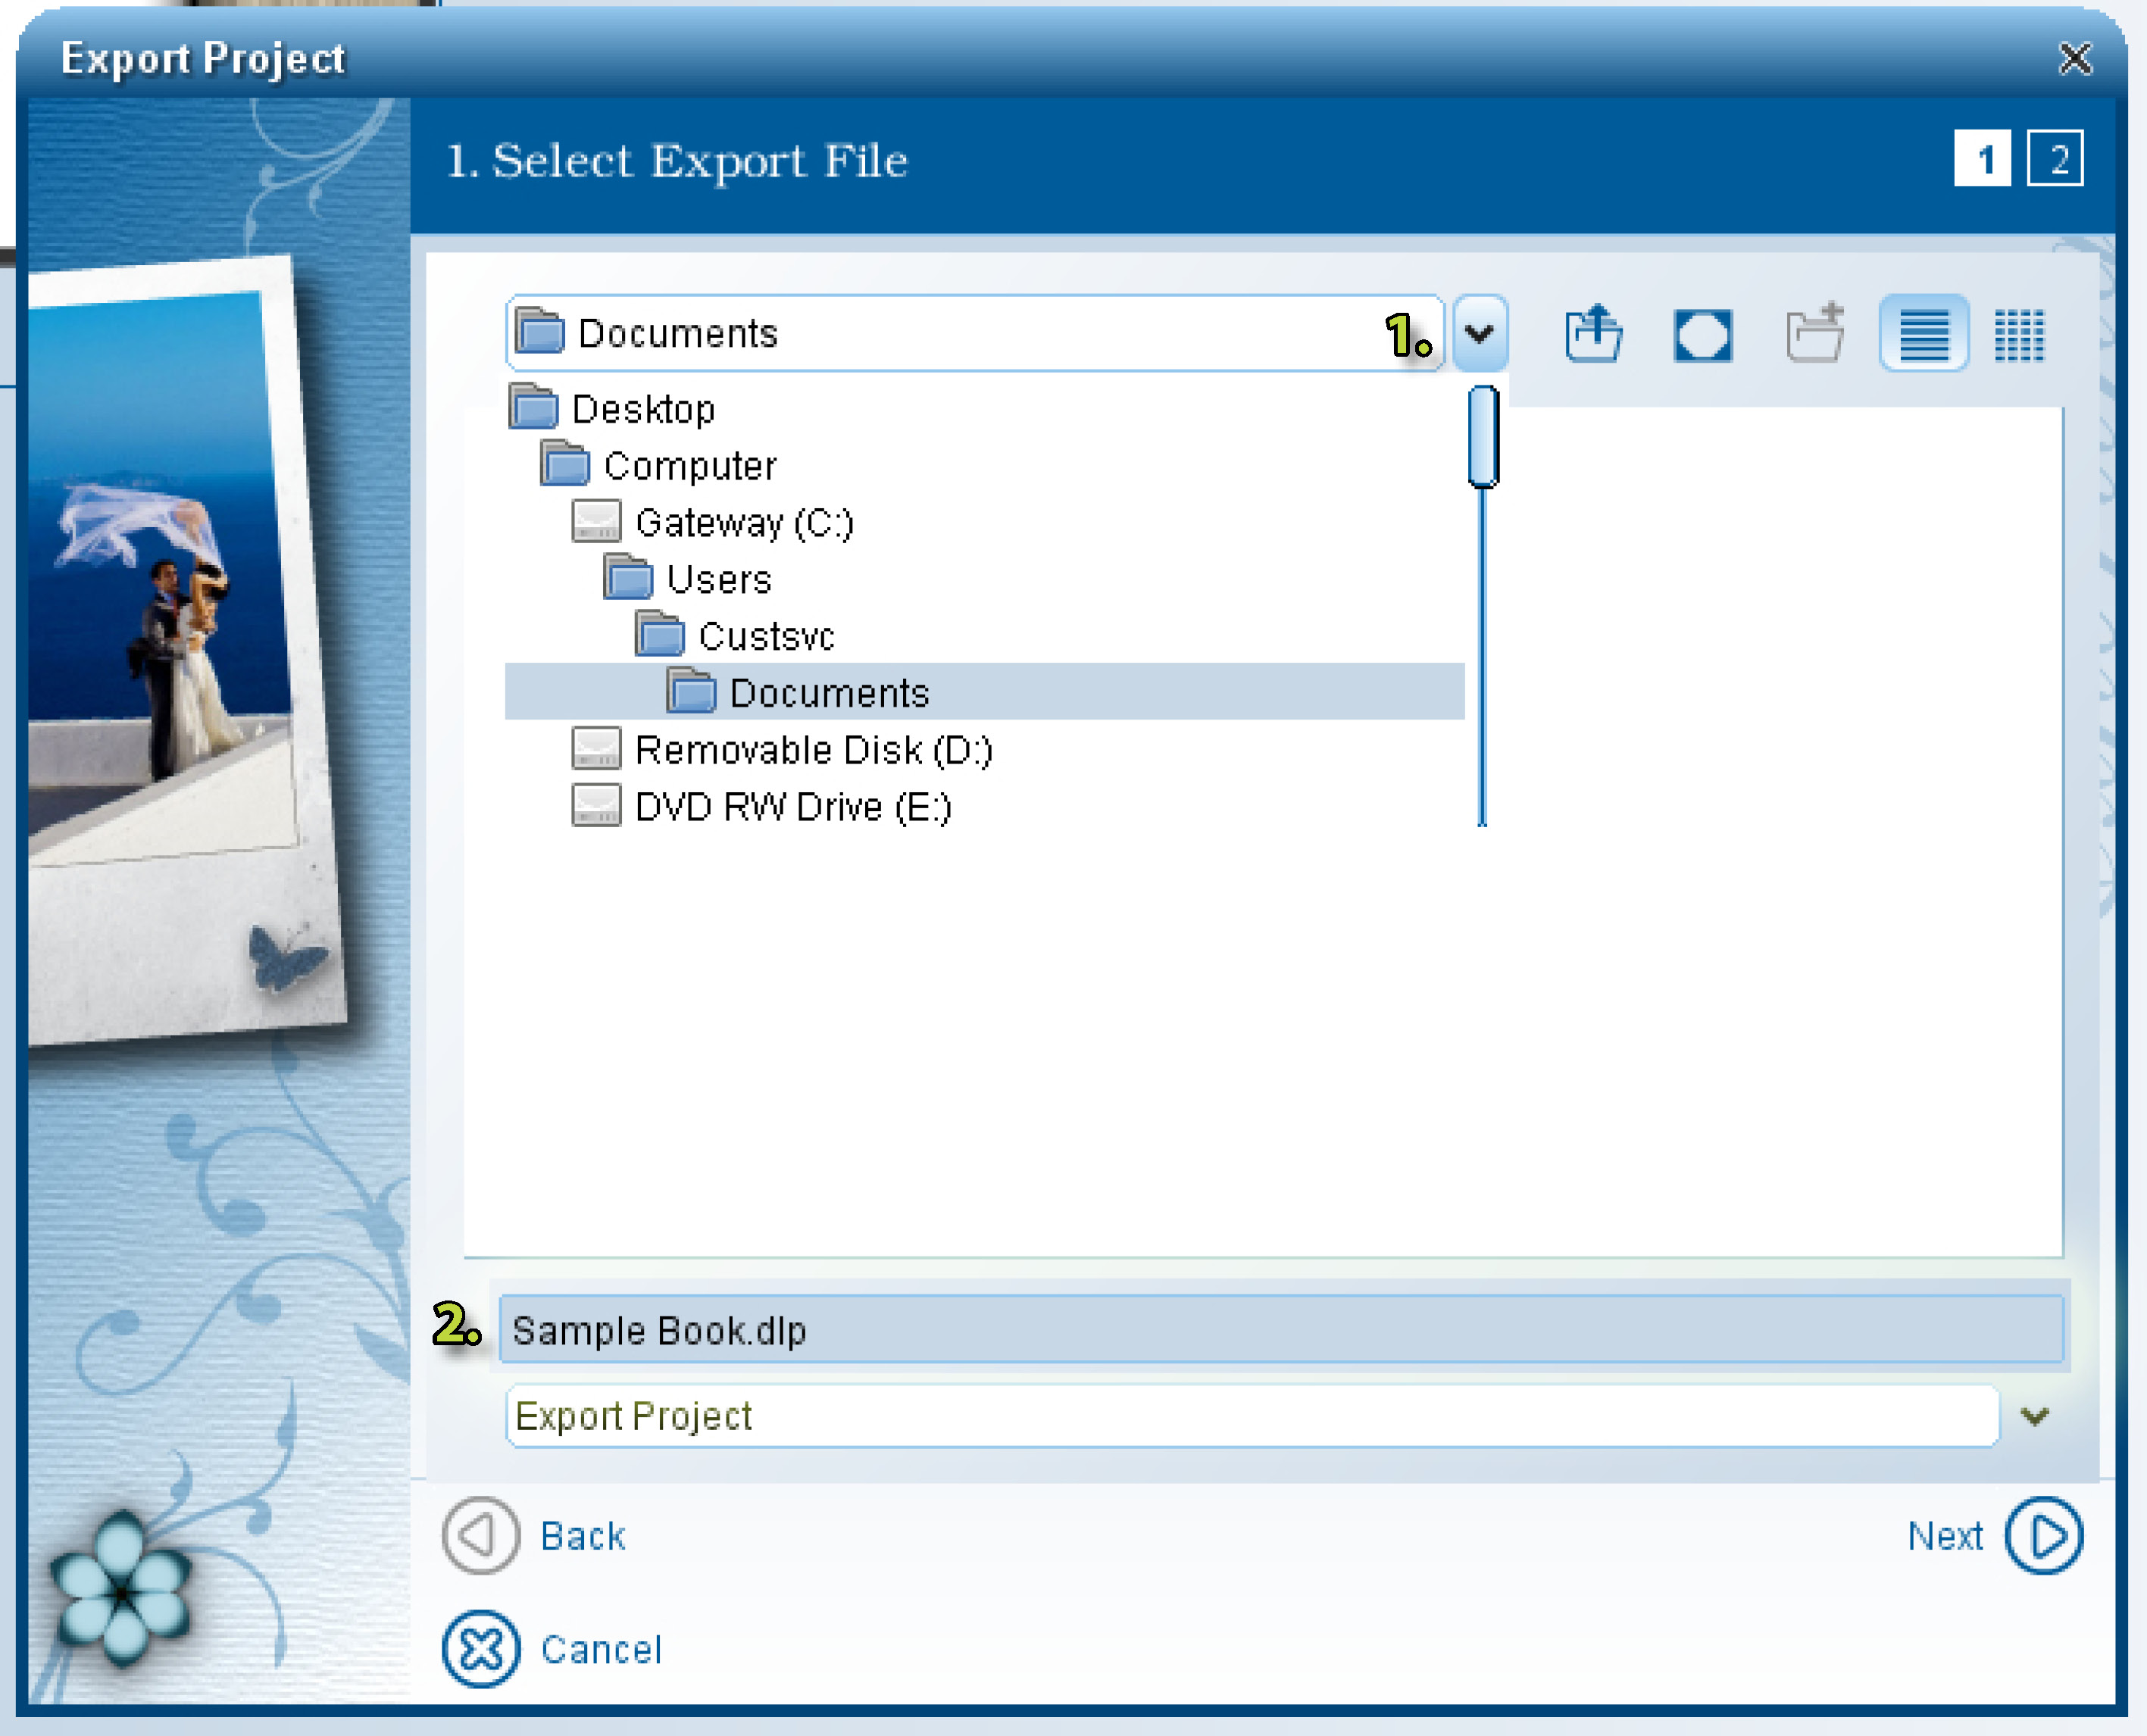
2. Now choose where you want to save your exported book to (1) and name it (2).
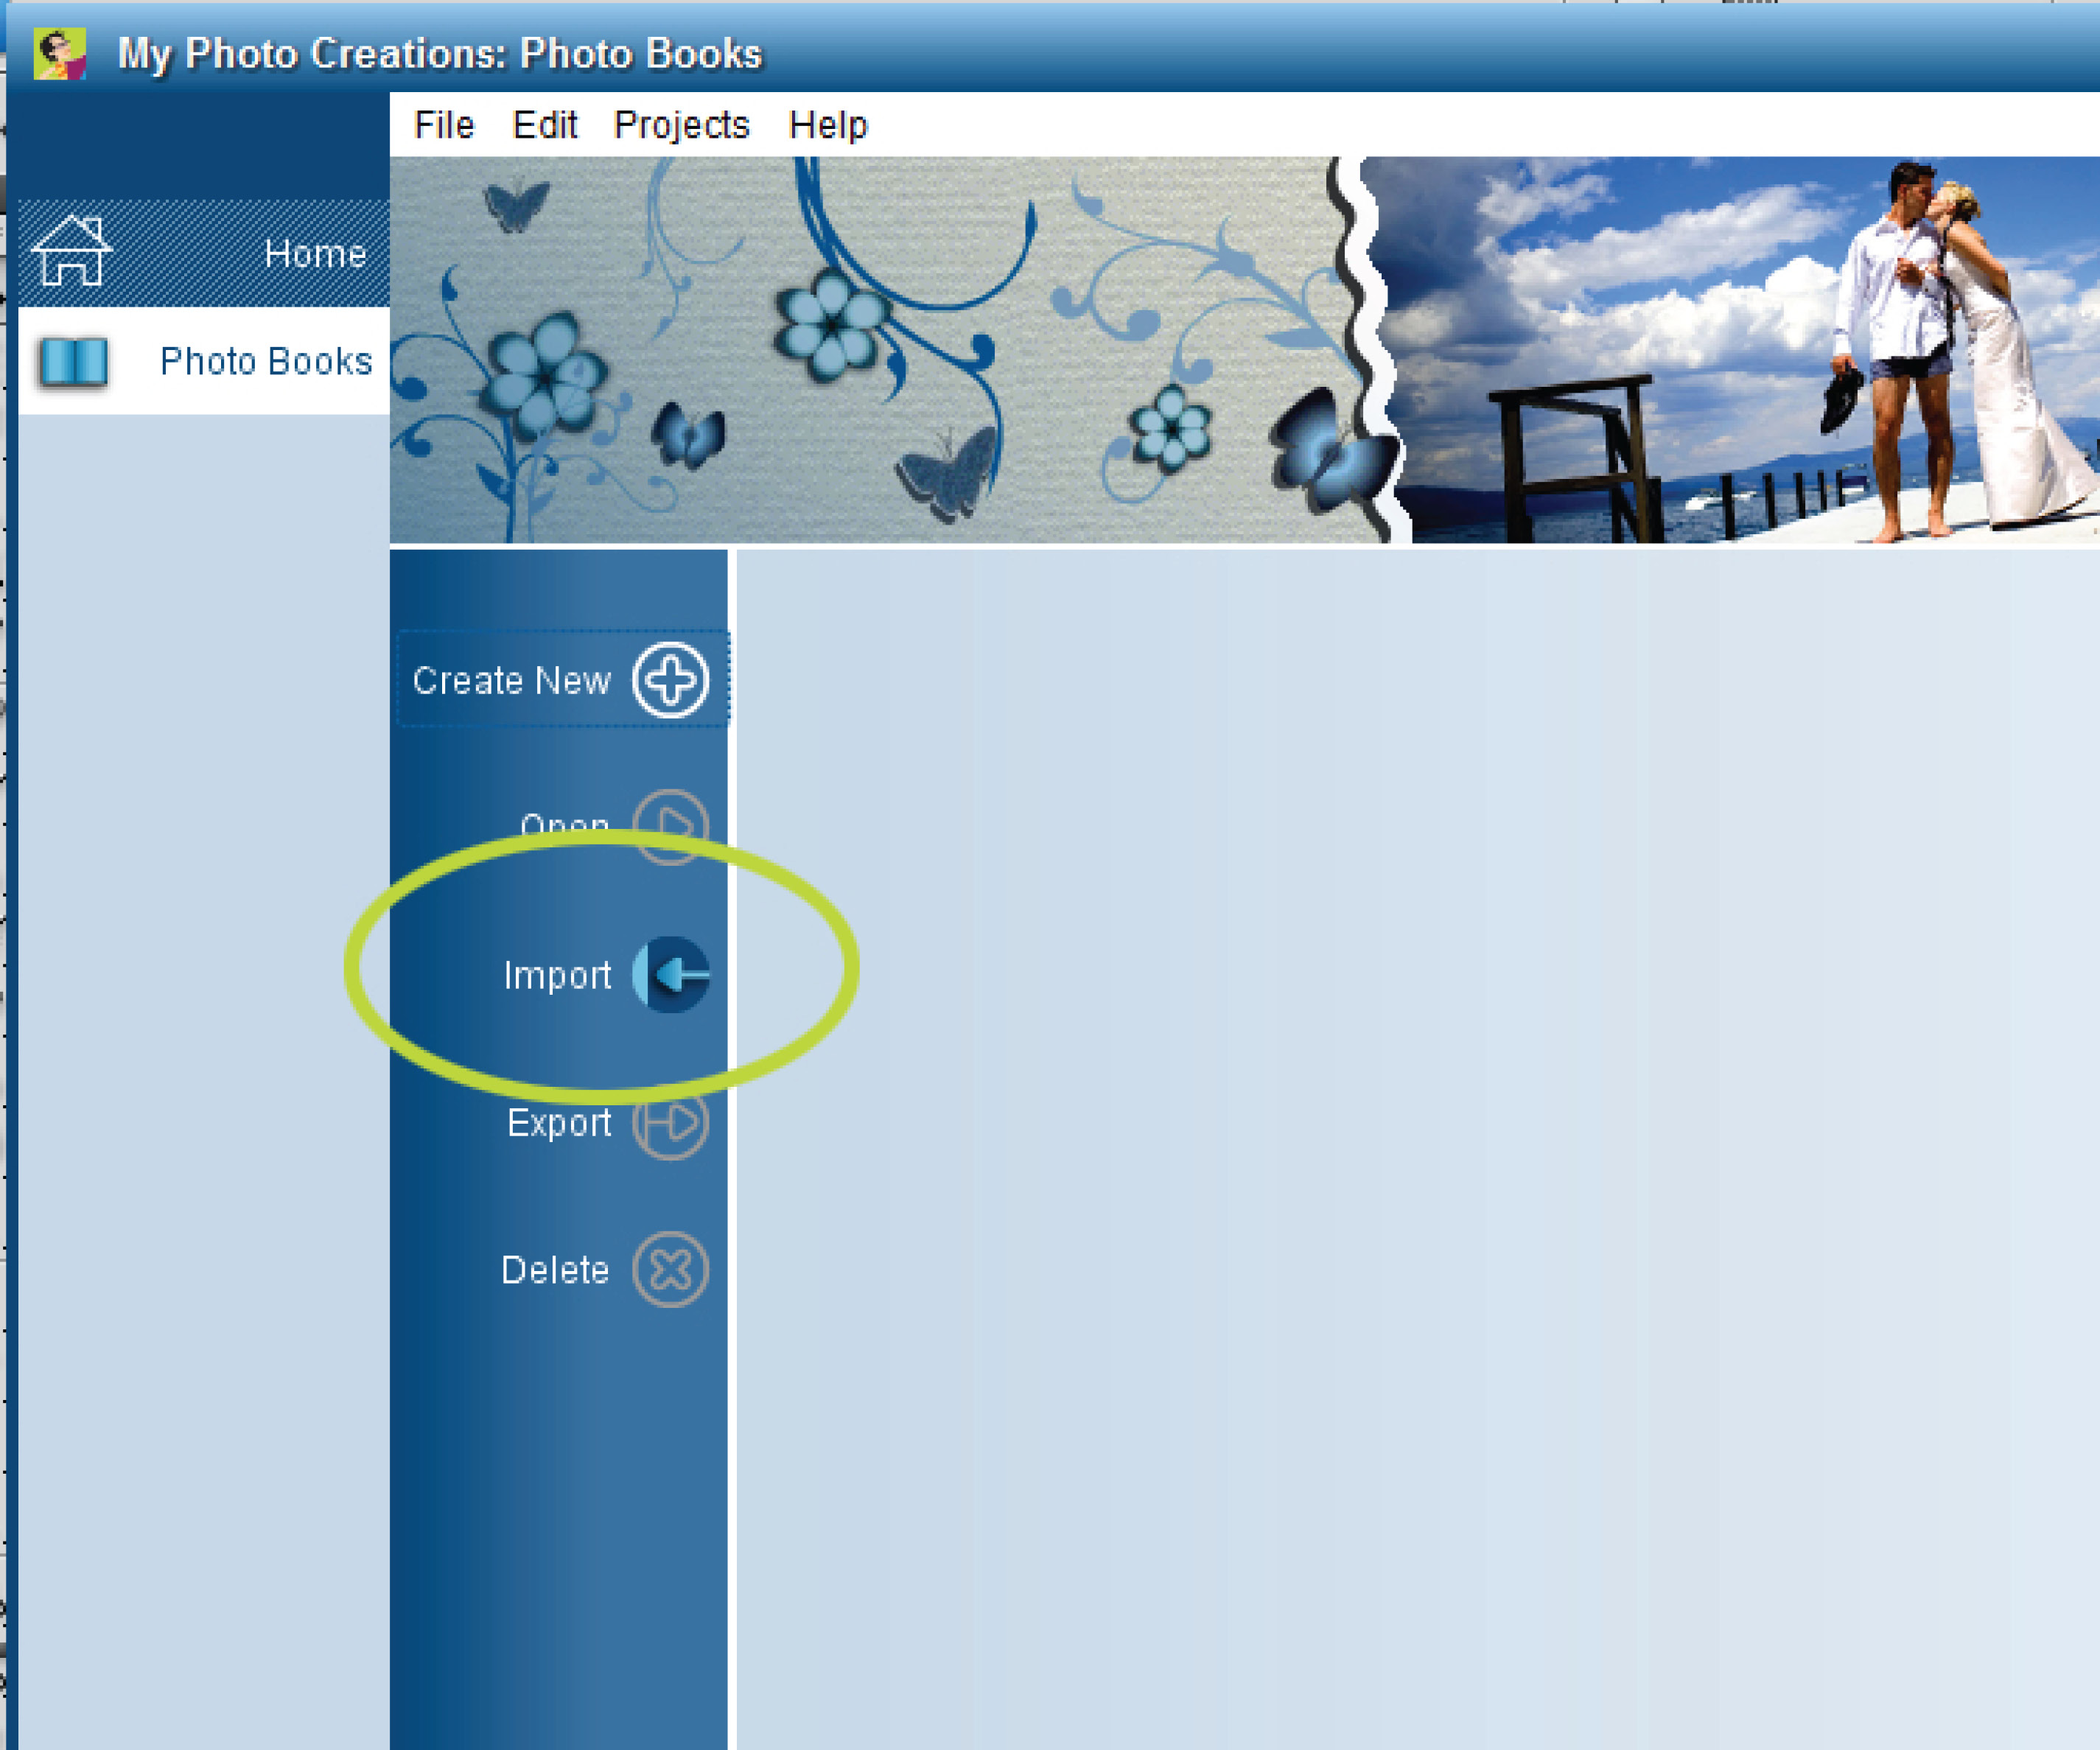
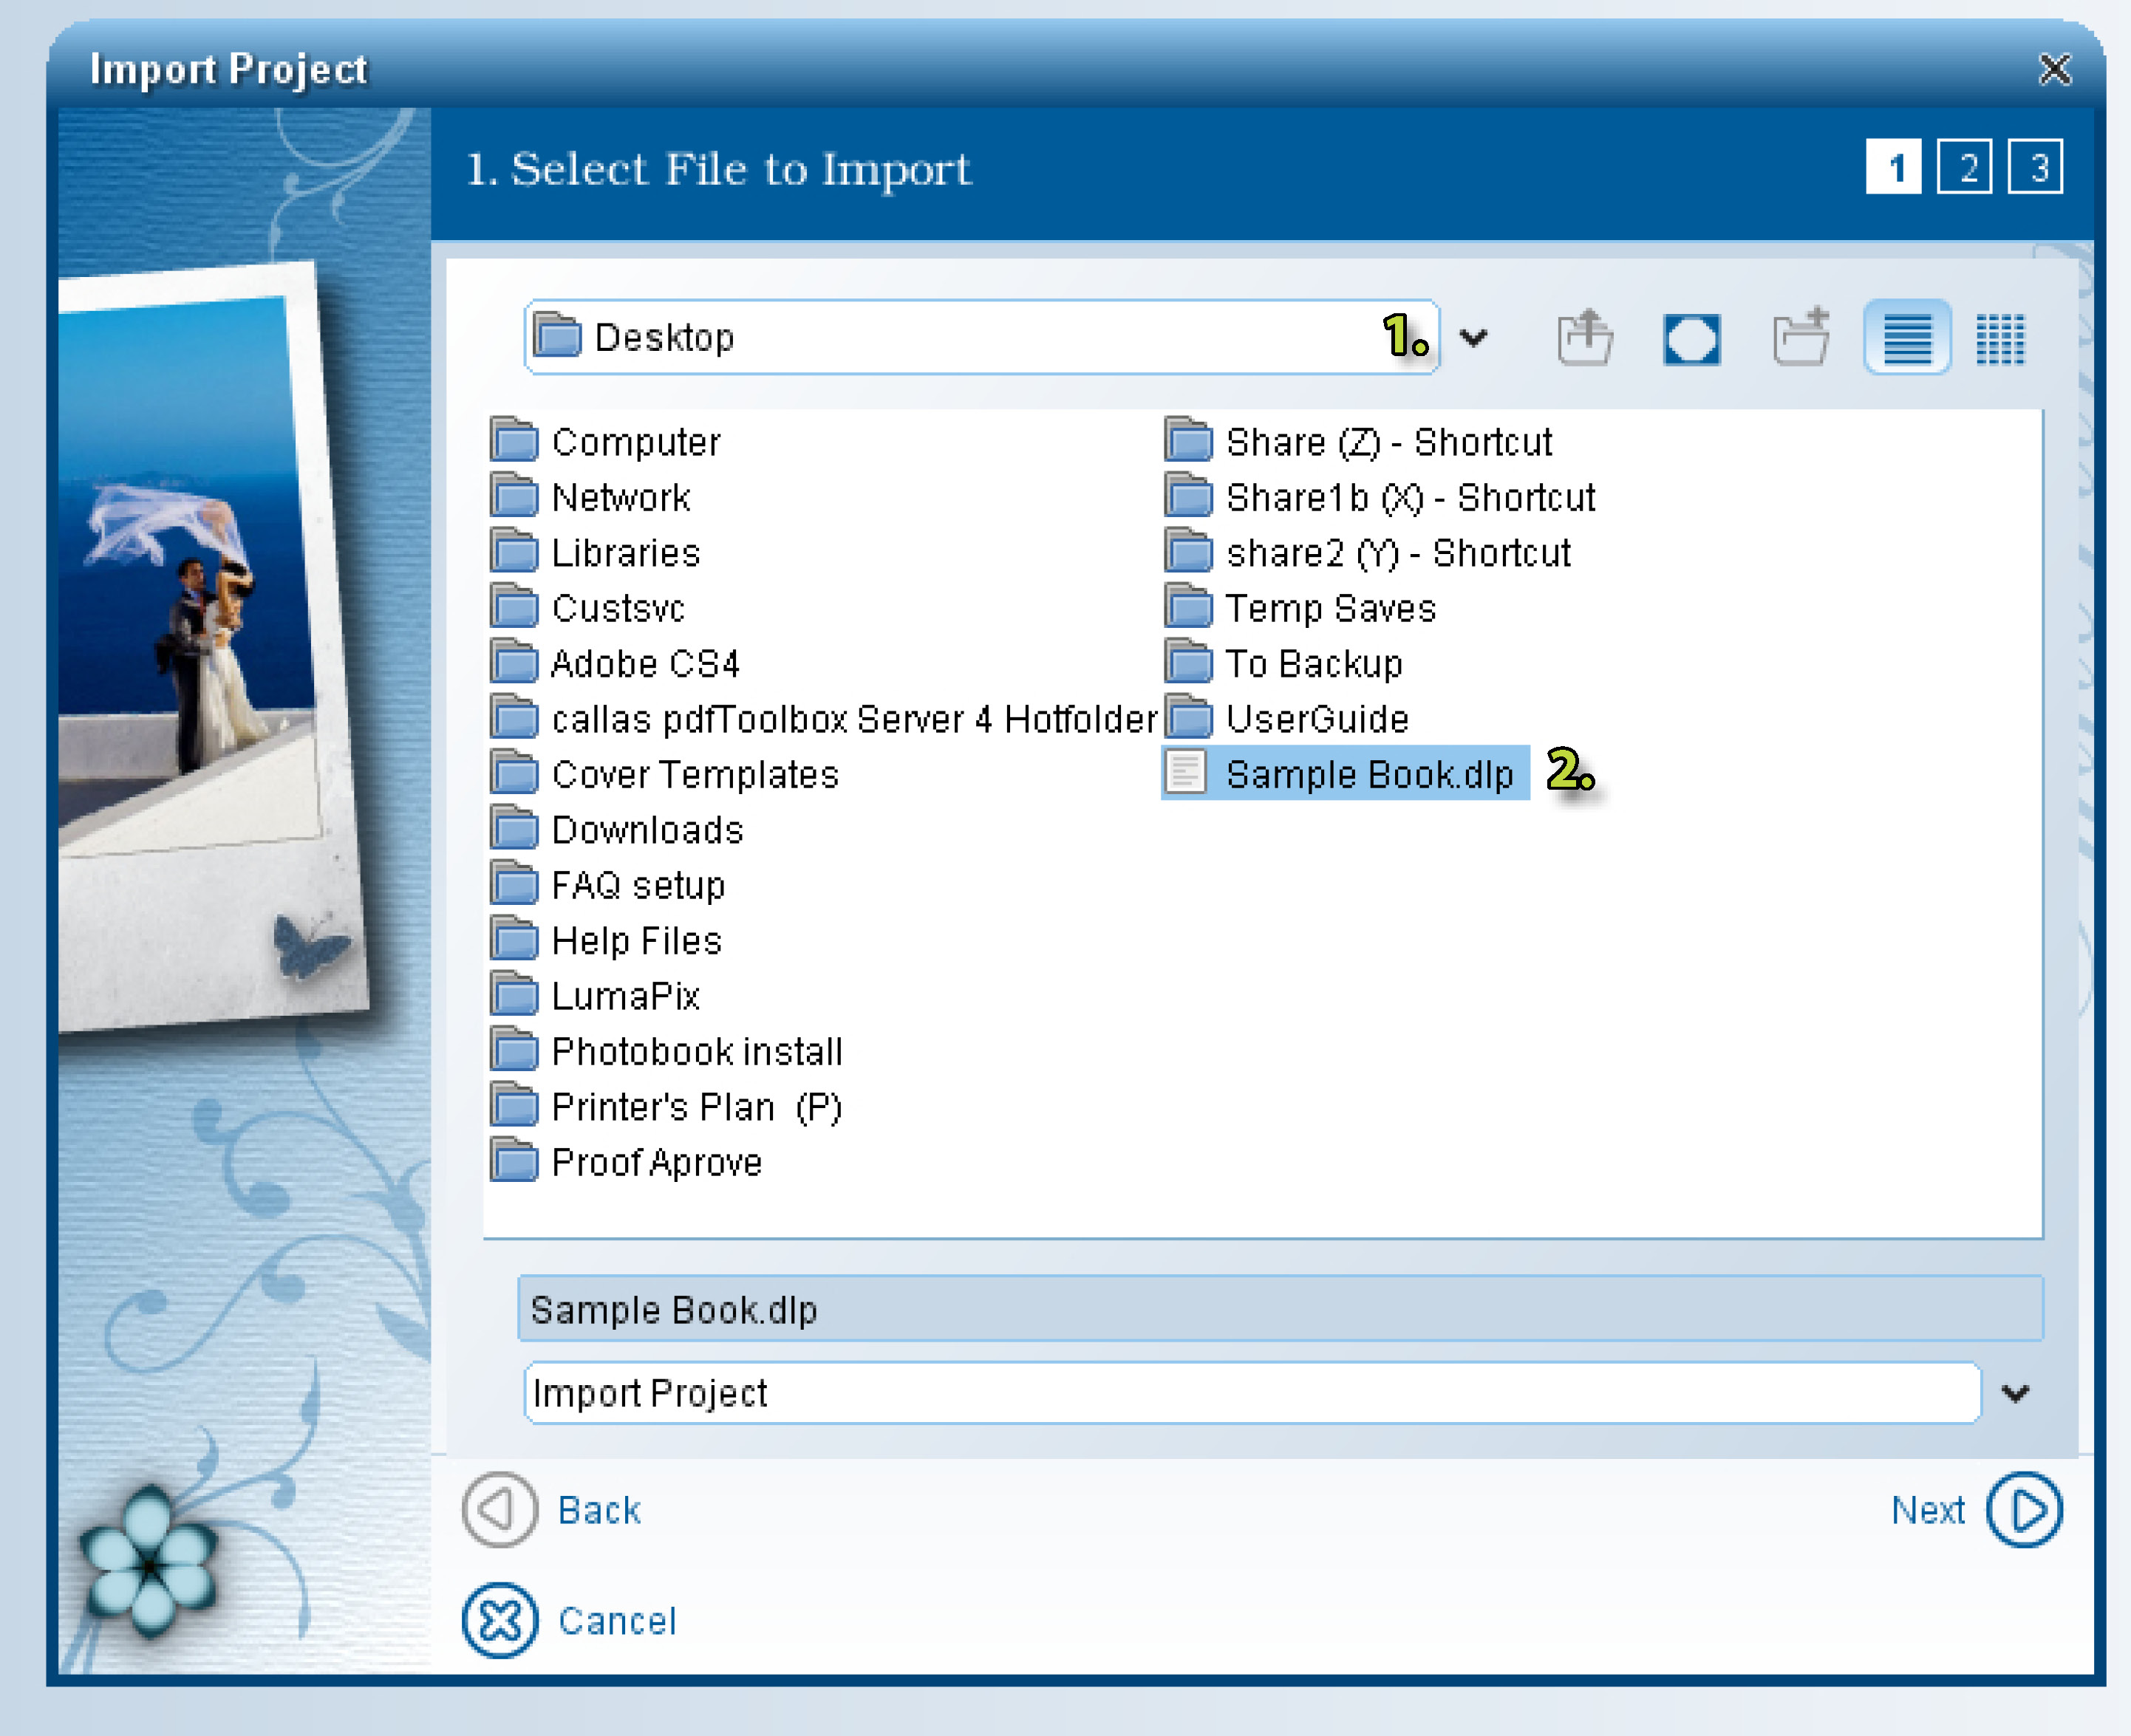
1. To import your book select the Import Button from the Photo Books Menu.
2. Now select the folder you saved your book in (1) and pick the book you exported (2).
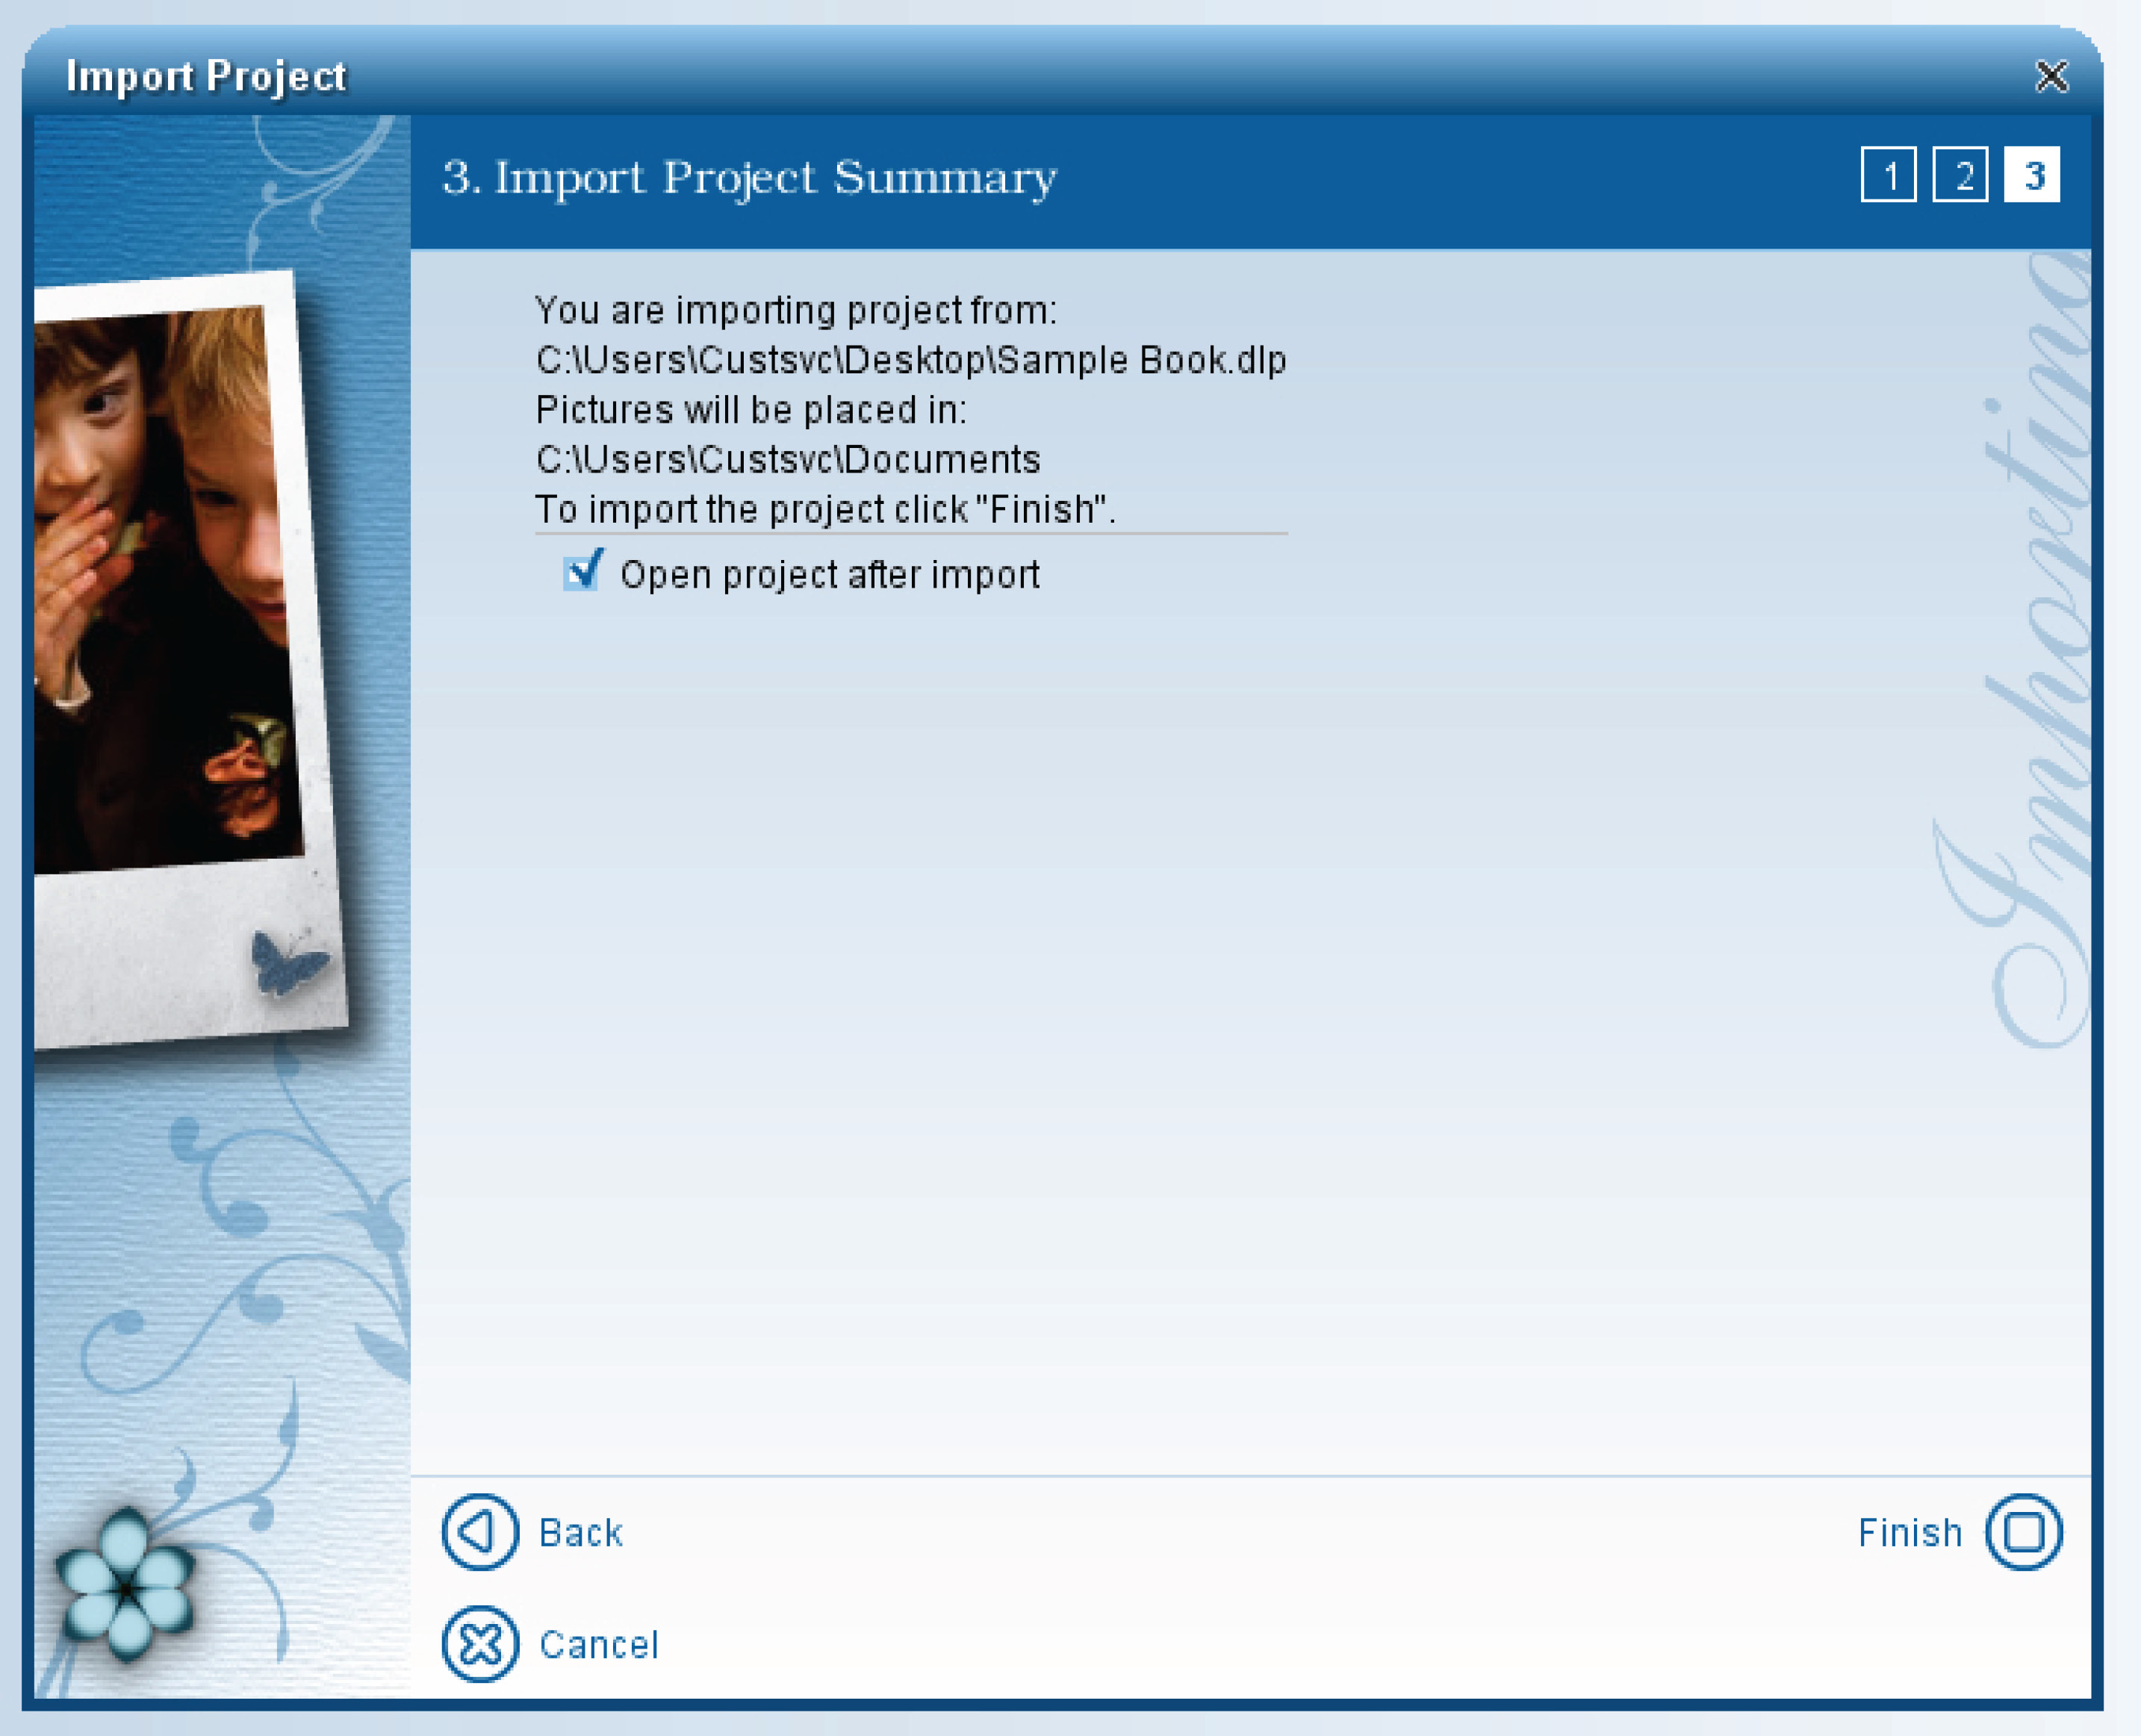
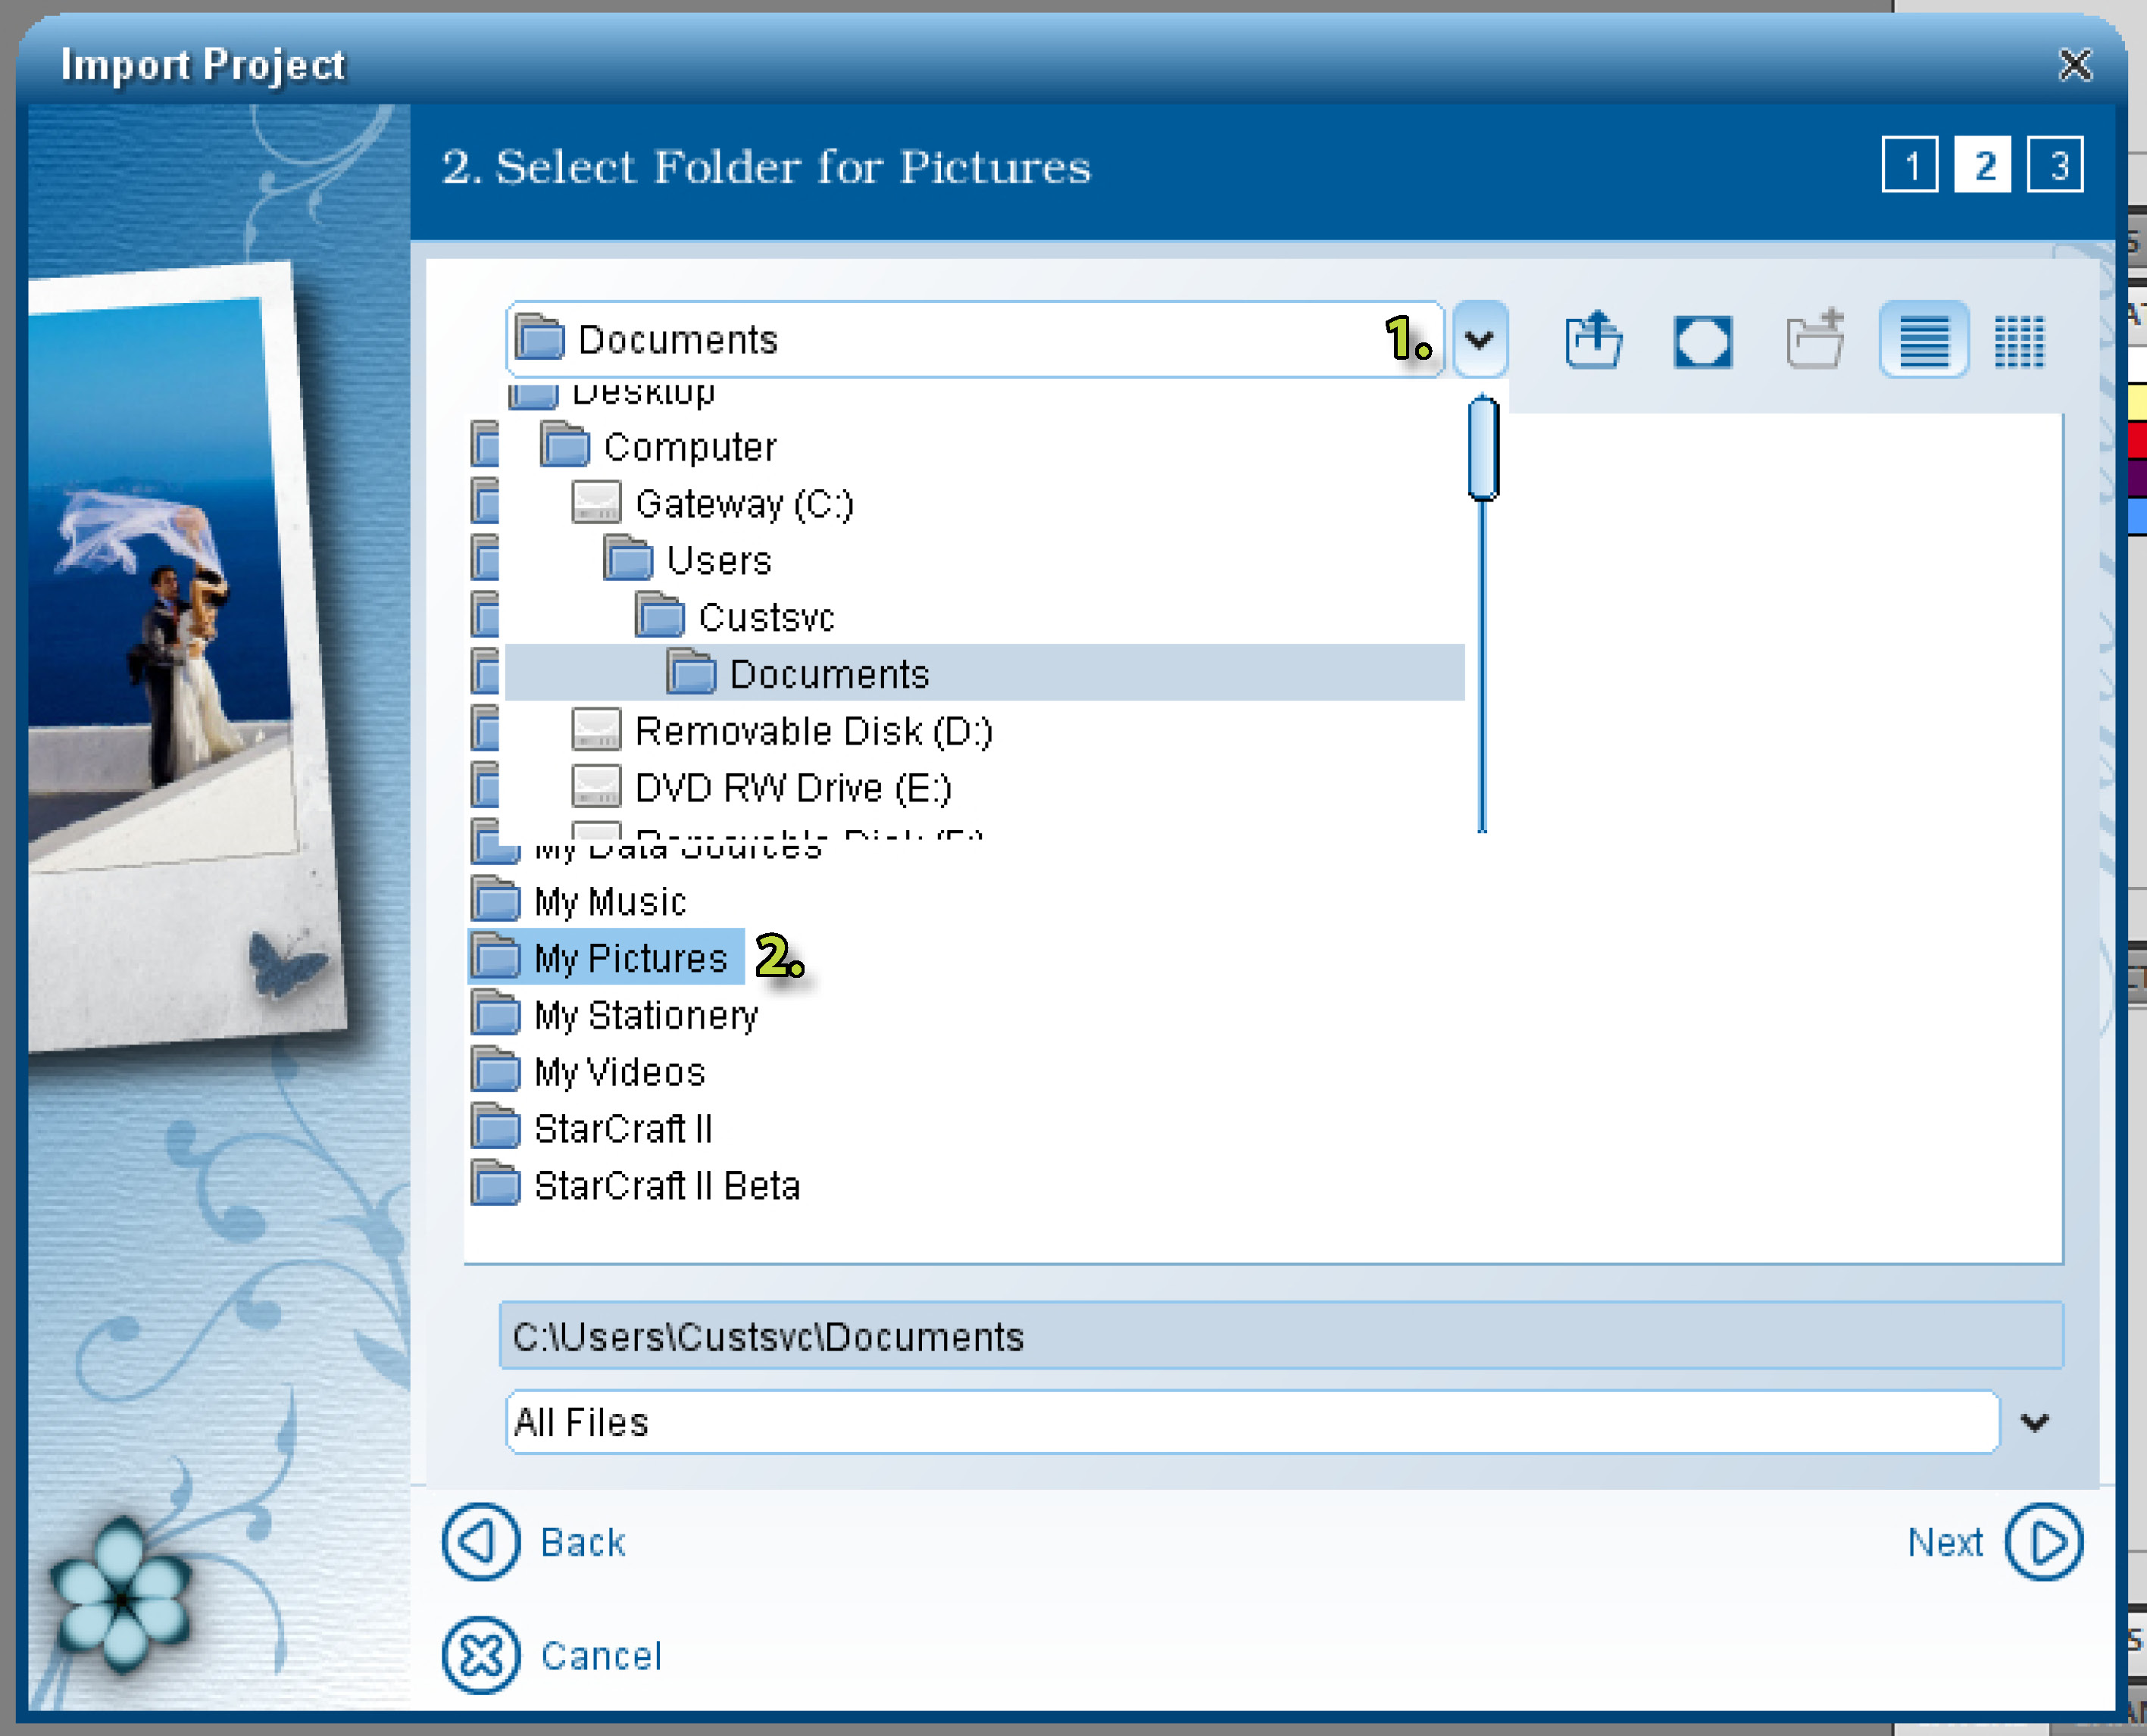
3. Next you will pick where to save the photos your book will be using(1-2). Make sure to not move the photos from this folder, doing so will cause your book to not show your images because the software wont know where to look for it.
4. If you want to edit your book after importing make sure to select the "Open project after import" check box.